
Reviewed · ARNHEM TOURS & EXPERIENCES
Battle Of Arnhem Route Self Guided 5km – 2,5 hours
Arnhem has a way of making WWII feel close. This self guided 5km route uses photos tied to real locations and a clear Google Map link setup so you can follow the story without guessing. I like that it is short enough for a calm day trip, yet detailed enough to make Operation Market Garden feel real on the streets.
The main catch is that it is not a live guided tour. If you want lots of extra interpretation from a person, you may find the self pacing a little less talkative.
In This Review
- Key points to know before you go
- A 5km Battle of Arnhem walk you can pace yourself
- Getting started at Arnhem Central, near SPAR and Willemsplein
- Stop 1: Arnhem Central Station and the route’s photo storytelling
- Stop 2: St. Elisabeths Hospital, Utrechtsestraat, and a south Arnhem viewpoint
- Stop 3: ’T Huukske and Major General Urquhart’s shelter
- Stop 4: Sabelspoort and Eusebiuspoort uit 1357, photo time outside the gate
- Stop 5: Airborne at the bridge, a free timeline video on level -1
- Stop 6: John Frost Bridge, John Frostbrug, and how the walk ends in remembrance
- Price and value: what $14.89 per group really buys you
- Practical tips to make the route feel smooth, not stressful
- Who should book this route in Arnhem
- Should you book this self guided Battle of Arnhem route?
- FAQ
- How long is the Battle of Arnhem route?
- How far is the self guided walk?
- Where do you start the tour?
- Where does the tour end?
- Is there a live guide?
- What language is the tour offered in?
- Are any stops free to enter?
- Is it easy to access by public transportation?
- What is the cancellation policy?
- When is it available?
Key points to know before you go
- Photo guided stops that explain what you are looking at, right where you are standing
- Free entry points along the way, including the Airborne at the bridge museum
- A simple 5km loop-ish route built for a smooth, walkable timeline (about 2.5 hours)
- Mobile ticket plus a PDF with route notes and Google Map links to keep you on track
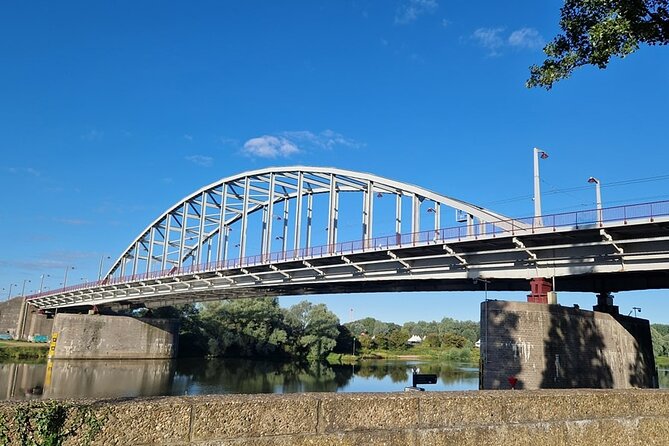
- Ends at John Frostbrug, with an easy walk back toward Arnhem Central and the city center
A 5km Battle of Arnhem walk you can pace yourself
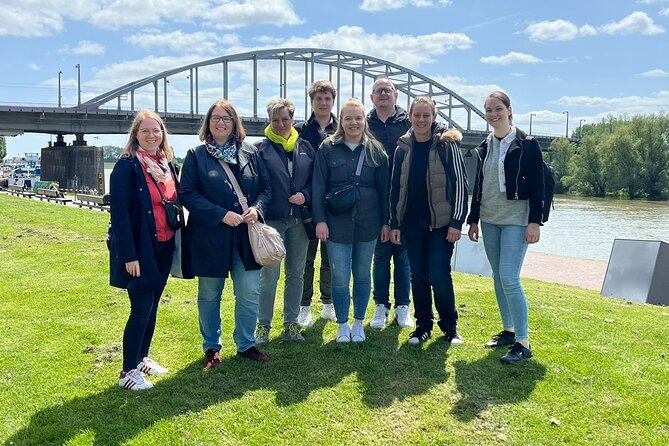
This is a self guided history route in Arnhem, designed to take about 2 hours 30 minutes over roughly 5km. You move between key WWII sites at a steady walking pace, with story beats that match the places you pass.
I like that it feels practical. There is no bus ride, no waiting around, and no pressure to keep up with a group. You can pause, read, and look longer at the parts that catch your interest, then just keep going.
It is also a good fit for mixed ages. The route is built from outdoor viewpoints and free stops, so you can scale your time up or down depending on energy level.
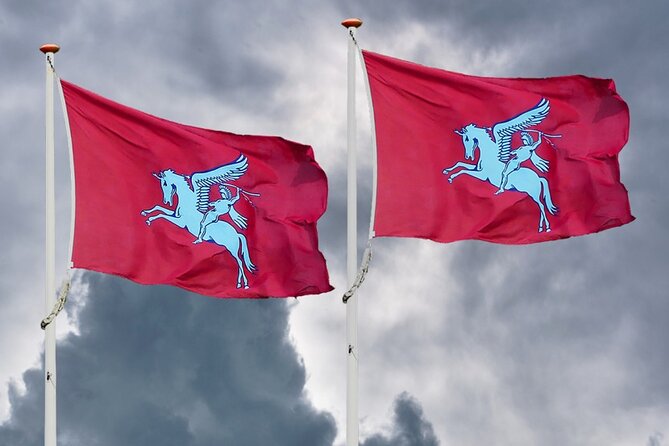
Also flying a pennant in Arnhem



Getting started at Arnhem Central, near SPAR and Willemsplein
You begin near Arnhem Central Station, close to the SPAR supermarket at Willemsplein 22. The start point matters because the story kicks off immediately at the transportation hub where movement, tension, and key actions were all part of the picture.
Before you set off, you will have a mobile ticket and a PDF route guide with Google Map links. That combination is what helps you get your bearings fast, especially if you are new to the city layout.
Tip: plan for a phone battery buffer. You do not need tech wizardry here, but you do want your ticket and map directions to be easy to access.
Stop 1: Arnhem Central Station and the route’s photo storytelling
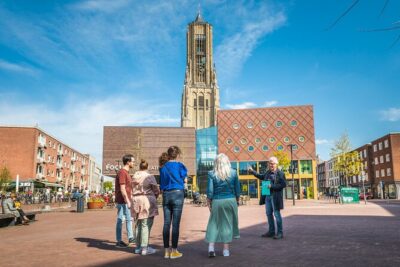
Stop 1 is right by Arnhem Central Station, in front of the SPAR supermarket. The idea is simple: you start with the setting, then the route provides photo based information that points you to what matters in that location.
This is the style of walking tour that works. You are not reading long paragraphs while standing still. Instead, the photos are meant to explain why this spot matters, then you keep moving.
The stop time is listed at about 15 minutes, which is a comfortable window if you like to skim first and linger only where you care.
Stop 2: St. Elisabeths Hospital, Utrechtsestraat, and a south Arnhem viewpoint
The story shifts to the former St. Elisabeths Hospital area. Before you reach the hospital itself, you pass other stops that include information related to the Utrechtsestraat, plus a lookout point with a view over the south of Arnhem.
St. Elisabeths Hospital is described as one of Arnhem’s iconic buildings, and it played a major role during the Battle of Arnhem. What I find compelling here is the detail that the hospital building itself was spared because of its function, even while fighting took place around it.
This stop is listed around 20 minutes, and the mix of reading plus viewpoints is what keeps the route from feeling like a single long museum hallway. You actually get to look out, and that helps the wartime geography make sense.
Stop 3: ’T Huukske and Major General Urquhart’s shelter
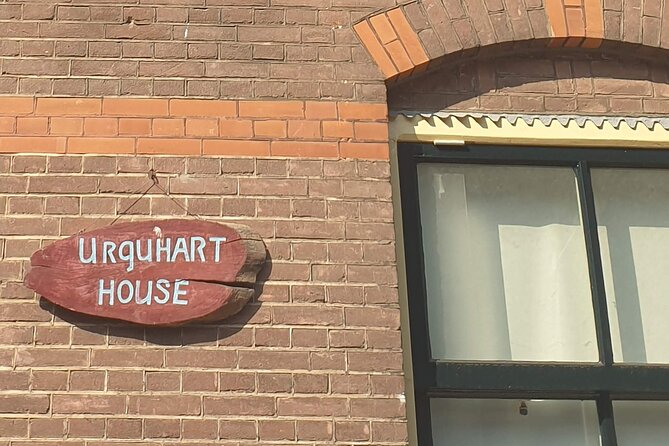
Just around the corner from the hospital, you reach ’T Huukske, linked to the Urquhart House. This is where Major General Urquhart took shelter, and the site is also tied to a famous moment from the film A Bridge Too Far starring Sir Sean Connery.
If you like connecting cinema to real places, this stop delivers. If you do not, you still get something useful: a specific human scale to the events, not just military lines on a map.
Expect about 20 minutes here. It is enough time to read the context, take a breather, and orient yourself for the next piece of architecture.
Under the next bridge out of Arnhem:
- Arnhem: Burgers’ Zoo Entry Ticket
★ 4.7 · 88 reviews - Oosterbeek: Airborne Museum Hartenstein Entry Ticket
★ 4.7 · 58 reviews - 2,5 hour Battle of Arnhem Tour with Private Guide
★ 5.0 · 16 reviews - 6 Hour Battle of Arnhem Tour by Car with Private Guide
★ 5.0 · 6 reviews
Stop 4: Sabelspoort and Eusebiuspoort uit 1357, photo time outside the gate
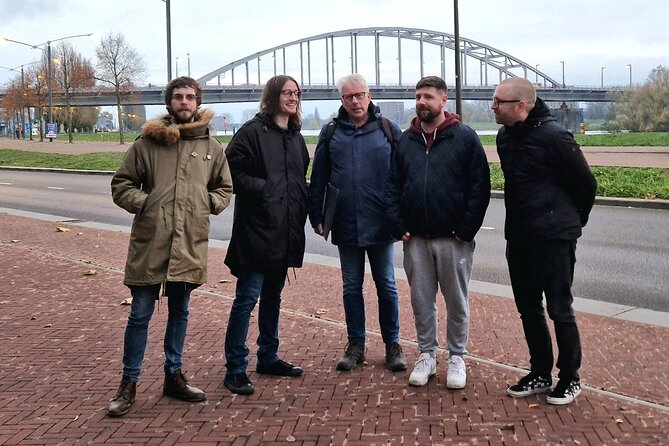
Next up is the Sabelspoort, also referred to as Eusebiuspoort uit 1357. The route frames it as the only old city gate still left intact. It was heavily damaged during the Battle of Arnhem, then rebuilt after WWII.
One practical note: entrance to the gate is not possible on this route. You will pass by it, and the value is in the exterior look, plus photos from the outside.
Listed time is about 15 minutes. I recommend you treat this like a quick visual reset. After the hospital and house sites, it is a good moment to switch from story to atmosphere, and just look at how old stone survived the modern violence.
Stop 5: Airborne at the bridge, a free timeline video on level -1
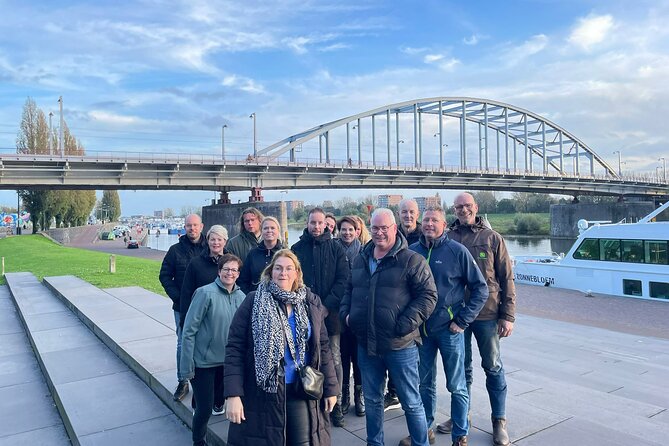
The route brings you to the Airborne at the bridge museum at the bridge area. This is free entry, and it is worth planning time for even if you are not usually a museum person.
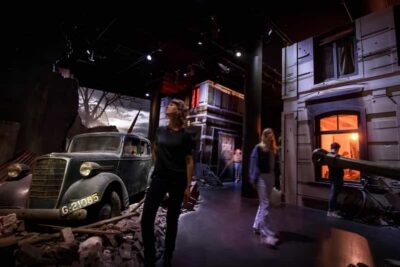
The key feature listed is a video impression of the Battle of Arnhem timeline. It is located at level -1, so you are going indoors for a short change of pace while still staying connected to the walk you just did.
Time here is about 25 minutes. That is a good amount to watch the video, then come back up and match what you saw with what you will see next at John Frost Bridge.
Stop 6: John Frost Bridge, John Frostbrug, and how the walk ends in remembrance
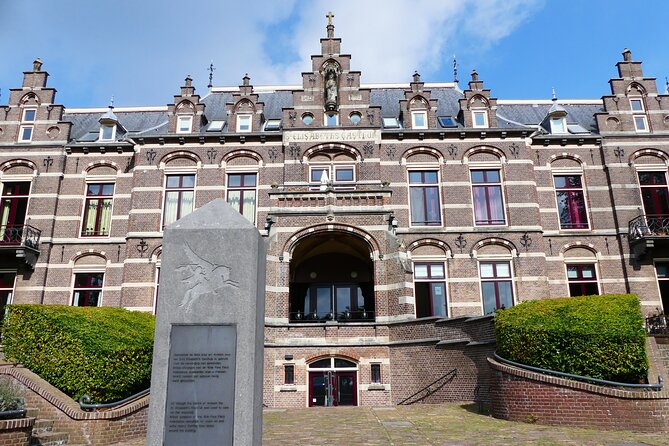
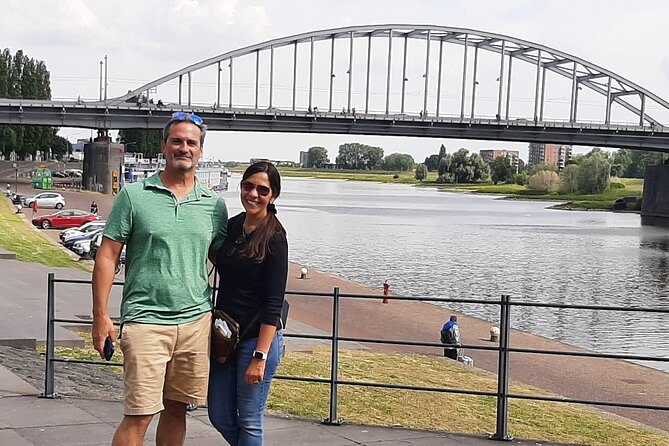
The final stop is the John Frost Bridge, known as John Frostbrug. This is the end point of the Battle of Arnhem route, and it is emotionally heavier for a reason: the crossing was bombed three times, by the Dutch in 1940, the Allies in 1944, and the Germans in 1945.
The route encourages you to take your time to explore the bridge and remember those who fought and fell. Even if you keep your reading brisk, the sheer repetition of bombing years is the kind of fact that lands hard when you are standing at the place itself.
Listed time is about 25 minutes. After that, the logistics are straightforward: it is just a 5 to 10 minute walk back to the city center, and about a 20 minute walk back to Arnhem Central Railway Station.
Price and value: what $14.89 per group really buys you
At $14.89 per group, up to 4 people, the cost works out well if you are traveling with others. Since it is priced per group rather than per person, families and small friend groups get more value without paying extra once you are on the route.
What you get is not just a map. You receive a PDF with the route described in text plus Google Map links, and you get photos that help tell the story at each location. The stops themselves are marked as free to enter across the route, including the Airborne at the bridge museum.
So your main expense is time and walking, not ticket add ons. If you can commit to a 2.5 hour window, you are effectively buying a well paced self guided day trip built around meaningful locations.
Practical tips to make the route feel smooth, not stressful
For a self guided route, the biggest success factor is rhythm. The route’s stop times are short and realistic, so aim to spend roughly those windows instead of trying to read everything at full speed.
Wear comfortable walking shoes. The route is only about 5km, but you will cover it across streets and areas where you will naturally stop for photos and viewpoints.
Also, treat the map links as your safety net. If you ever feel turned around, pause and recheck the directions rather than trying to remember where you should be. The whole point is that the route is designed to help you follow the story without getting lost.
Who should book this route in Arnhem
I think this is best if you:
- Want an independent day trip with free stops and no live guide scheduling
- Enjoy walking between history sites and learning through context photos
- Like a route that is short enough for younger kids, older adults, or mixed energy groups
It also works well if Arnhem is not your only stop. Since you finish near the iconic John Frost Bridge and the city center is within a short walk, it is easy to tack on lunch, a coffee break, or a second nearby attraction.
Should you book this self guided Battle of Arnhem route?
I would book it if you want a structured, story led walk with practical navigation and free entry stops. The route’s strengths are the photo tied explanations at real locations and the clear way the Google Map links help you stay oriented.
Skip it if you strongly prefer a live guide who can answer questions and add extra depth on the fly. This experience is designed for you to read, look, and walk at your own pace, not for a back and forth conversation.
If you want a calm, meaningful Arnhem half day, this route is a solid choice.
FAQ
How long is the Battle of Arnhem route?
The route is listed at about 2 hours 30 minutes.
How far is the self guided walk?
It is a 5km route.
Where do you start the tour?
The start point is Willemsplein 22, Arnhem, near the SPAR supermarket by Arnhem Central Station.
Where does the tour end?
It ends near John Frost Bridge, at Foundation Housing Arnhem on Kadestraat 1.
Is there a live guide?
No, this is self guided. You will use a mobile ticket and the provided route materials.
What language is the tour offered in?
The tour is offered in English.
Are any stops free to enter?
The route information marks the stops as free, including Airborne at the bridge.
Is it easy to access by public transportation?
Yes, it is near public transportation.
What is the cancellation policy?
The experience is non refundable and cannot be changed for any reason.
When is it available?
The opening hours provided list Monday from 12:00 PM to 5:00 PM, valid in the period 01/16/2024 to 03/21/2027.
Latest to arrive along the quays of Arnhem
Arnhem Tours & Experiences, compared.

Oosterbeek: Airborne Museum Hartenstein Entry Ticket
Read our review →
e-Scavenger hunt Arnhem: Explore the city at your own pace
Read our review →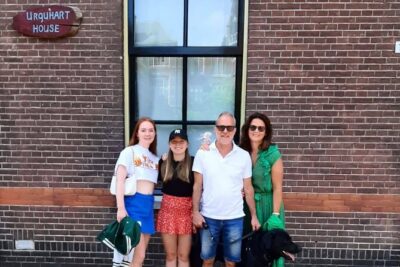
2,5 hour Battle of Arnhem Tour with Private Guide
Read our review →
6 Hour Battle of Arnhem Tour by Car with Private Guide
Read our review →
Arnhem Self Guided Sherlock Holmes Murder Mystery Game
Read our review →
Exciting Murder Mystery – Interactive city walk in Arnhem
Read our review →
Self Guided 2 Hour Private Mural City Route Arnhem
Read our review →Browse the lists this tour appears in