
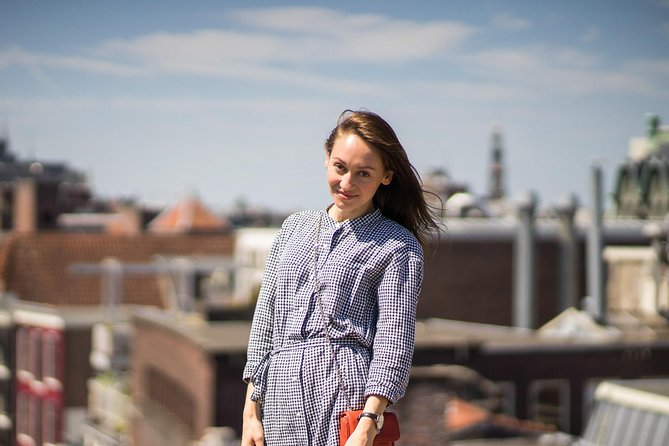
Reviewed · PHOTOGRAPHY SESSIONS
See Shoot Share | Photo Tour
A phone camera can feel limiting, until a pro shows you how. This private Amsterdam photo tour turns three iconic areas into a guided practice session, plus you get a professional portrait set into your tour. I especially like the phone-first coaching and the fact you can steer where you want to shoot, one consideration is that there is no time built in for a long sit-down break or food stop.
You start with photogenic streets, then shift to canals, then finish in the Jordaan for a quieter local vibe. I like that the coaching is practical, the guide focuses on light, composition, symmetry, and lines, not vague art talk. The main drawback is simple: it is a walking experience with limited hours, so you will want to be ready to move.
In recent feedback, the photographer Phil gets called out for making iPhone tips feel usable right away. If you value quick wins and clean photos you can actually post, this tour is a strong fit, just bring comfortable shoes and plan to snack on your own.
In This Review
- Key reasons this works
- A private Amsterdam photo walk you can steer
- Price and timing: what $66.09 buys you in 1.5 to 2 hours
- Meeting at Dam 13, then back again
- Stop 1: Negen Straatjes (Nine Little Streets) for close-up street photos
- Stop 2: Amsterdam canal ring, phone rules for light and composition
- Stop 3: The Jordaan, quiet local-mood shots
- The included portrait: Quick Shot, Take Two, or Slo Mo
- What to bring and how to prepare before you meet Dam 13
- Who this private photo tour suits best
- Should you book this Amsterdam See Shoot Share photo tour?
- FAQ
- How long is the See Shoot Share photo tour in Amsterdam?
- Where does the tour start, and does it end there too?
- What language is the tour offered in?
- What’s included in the portrait portion?
- Are food or drinks included?
- Is this a private tour?
- Is free cancellation available, and how far in advance can I cancel for a full refund?
Key reasons this works
- Private, you choose the path. Tell your guide where you want to go, and the tour is built around that flexibility.
- Professional portrait included. You get an exclusive portrait setup, with options that include more portraits depending on the package.
- Smartphone-focused canal coaching. The guide teaches how to photograph canals with light, composition, symmetry, and lines.
- Three Amsterdam areas, one smooth flow. Negen Straatjes, the canal ring, and the Jordaan keep your subject matter changing every 30 minutes.
- English-speaking guide. The tour is offered in English, which helps when you want direct instruction.
- Simple logistics and a central start. You meet at Dam 13 and the tour ends back there, near public transportation.
A private Amsterdam photo walk you can steer
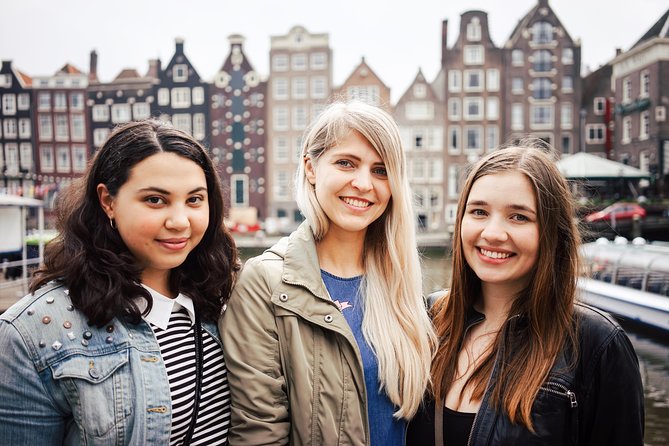
The biggest value here is that it is not a generic sightseeing stroll with a camera tagalong. This is a private tour, so your guide can adjust how fast you walk, what angles you try, and what kind of pictures you want to end up with.
Even better, you are encouraged to tell your guide where you want to go. That matters in Amsterdam because streets can look similar until you know which corner gives you the lines you are after. With a private guide, you can ask for that kind of specificity without slowing down other people.
You also get instruction while you walk, so you are not just hoping you will remember what to do later. The result is a tour that feels like a working session, with great backdrops.
Also flying a pennant in Amsterdam
Price and timing: what $66.09 buys you in 1.5 to 2 hours
At $66.09 per person for about 1 hour 30 minutes to 2 hours, you are paying for three things: guided photo teaching, the walking route through key neighborhoods, and an included professional portrait.
If you were to hire a photographer just for portraits in a major city, the pricing often climbs quickly. Here, the portrait is part of the deal, and the rest of the time is structured around learning how to photograph the areas around you, especially the canals with a phone.
On the timing side, it is short enough that you get variety without feeling like a full-day production. The tradeoff is that you cannot expect to linger for everything. If you are the kind of person who likes to take 50 shots of one doorway, you may need to choose your favorites faster than you would on your own.
Meeting at Dam 13, then back again
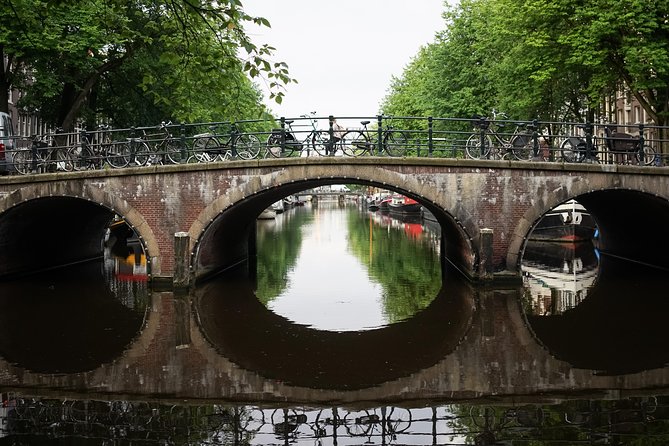
You meet at Dam 13, 1012 JS Amsterdam, and the activity ends back at the meeting point. That is a practical setup because you can build your day around it, then return easily for food, museums, or transport.
The tour runs near public transportation, which helps because you are not relying on a car or long transfers through the city. You also only need to manage a mobile ticket, so there is no extra paper puzzle to solve.
One more practical note: wear comfortable shoes. Amsterdam streets can be a mix of charming cobbles and small uneven patches. You want your feet to feel fine so you can focus on framing shots instead of adjusting every few minutes.
Stop 1: Negen Straatjes (Nine Little Streets) for close-up street photos
Your first photo target is the 9 Little Streets, also known as Negen Straatjes. This area is all about photogenic storefronts, narrow lanes, and angles that pop in tight spaces. With only about 30 minutes here, you will move quickly, so it helps to know what you want before you arrive.
For street photography, I like this kind of start because it teaches you the basics of seeing. You can practice composing with storefront shapes, window reflections, and the way people and movement create a natural sense of scale.
A practical advantage is that you are not stuck in one kind of shot. You can go wide for lane symmetry, then switch to closer details like signage or textures. If you enjoy turning your camera roll into a story, this start gives you multiple chapters right away.
A possible consideration: because the streets are narrow, tripods and big setups can feel awkward. You will get the most out of this stop if you stay light and shoot quickly.
Stop 2: Amsterdam canal ring, phone rules for light and composition
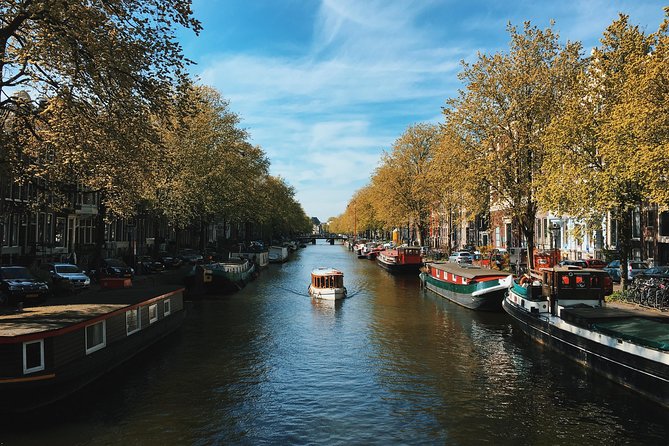
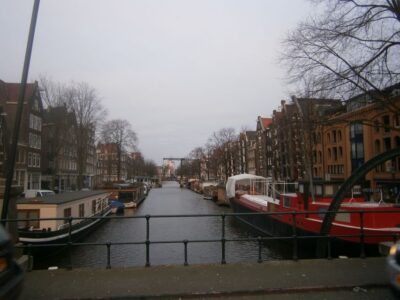
Then you shift to the Amsterdam canal ring for a very specific skill: how to photograph canals with your phone. The coaching focus is clear, light, composition, symmetry, and lines. That is exactly what you need because canal photos can look great in your head but turn flat on your screen.
Here is how these ideas usually show up in real photos, and what you can practice as you go:
- Light: Aim to notice the direction of brightness on the water and buildings. Even simple changes in angle can change how reflections look.
- Composition: Try framing so the main subject has a clear role, either anchored in the foreground or centered by the canal’s pull.
- Symmetry: Look for where bridges, building edges, or street lines create balance.
- Lines: Let canal edges and building facades guide your eye through the frame.
The biggest win is that you are learning while you stand in the scene. Instead of reading tips later, you get immediate instruction, then you can test it with your own phone on the spot.
One small caution: canal photos can tempt you to zoom too much, which can reduce sharpness. If your guide suggests a method, follow it first, then try one variation for comparison.
Under the next bridge out of Amsterdam:
- Amsterdam: Van Gogh Museum Ticket
★ 4.7 · 52,054 reviews - Amsterdam: Heineken Experience Ticket including 2 Drinks
★ 4.6 · 36,014 reviews - Amsterdam Classic Saloon Boat Cruise with Drinks and Cheese
★ 5.0 · 31,825 reviews - Amsterdam Luxury Canal Cruise + Unlimited Drinks & Bites option
★ 5.0 · 30,518 reviews
Stop 3: The Jordaan, quiet local-mood shots
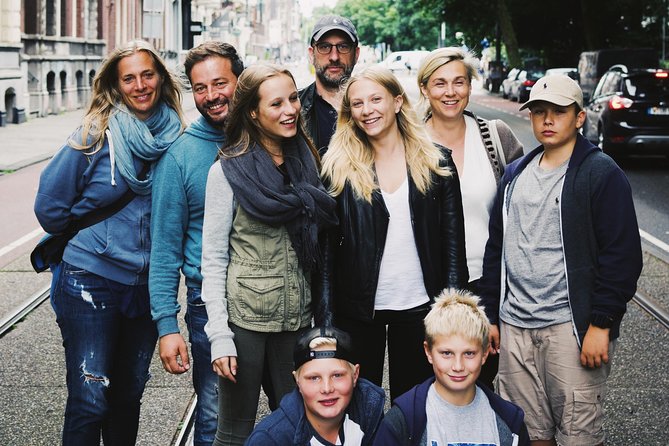
The final stop is the Jordaan, described as what locals call Real Amsterdam. This part of the tour is different from the canals because the tone shifts toward quieter streets and a more local feel.
About 30 minutes here is enough to reset your style. After the canal ring, you often have a burst of wide, structured shots. In the Jordaan, you can lean into mood: calmer street corners, everyday scenes, and compositions that feel natural rather than postcard-perfect.
If you like portraits that do not scream tourist, this is a strong place to practice. You can photograph street life with more breathing room in the frame, and you can aim for layers that show depth without cramming everything into one shot.
Because you still have coaching at work, ask for help turning a street scene into something that feels intentional. Sometimes the difference is choosing one focal point and letting the rest become context.
The included portrait: Quick Shot, Take Two, or Slo Mo
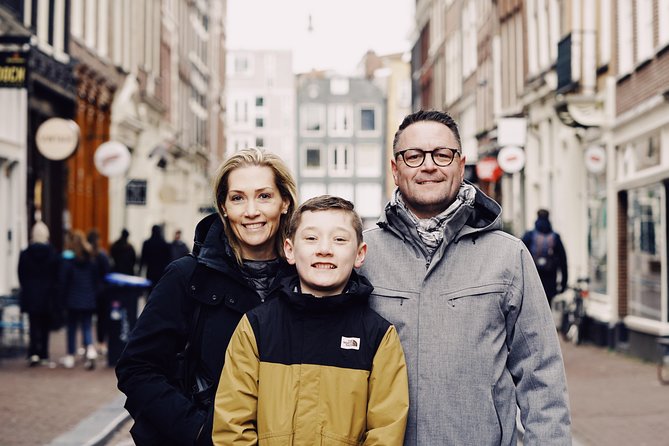
A major reason people book this is the included portrait. You get a professional portrait in a location of your choice. That last part matters because it turns a standard shoot into something personalized to your style, not just a default backdrop.
The tour includes portrait packages that change the number of images:
- Quick Shot Tour: an exclusive portrait
- Take Two Tour: 3 portraits
- Slo Mo Tour: 5 portraits
The wording suggests you receive the portrait set as part of your chosen option, so check which package you are selecting before you go. If you plan to use these images for social media or to update your photo set, choosing the number of portraits is a practical decision, not just a price difference.
My advice: pick the package based on how often you actually use photos from trips. If you prefer one strong image, Quick Shot can feel efficient. If you want variety for profiles, messaging, or memory keeping, Take Two or Slo Mo can be more satisfying.
What to bring and how to prepare before you meet Dam 13
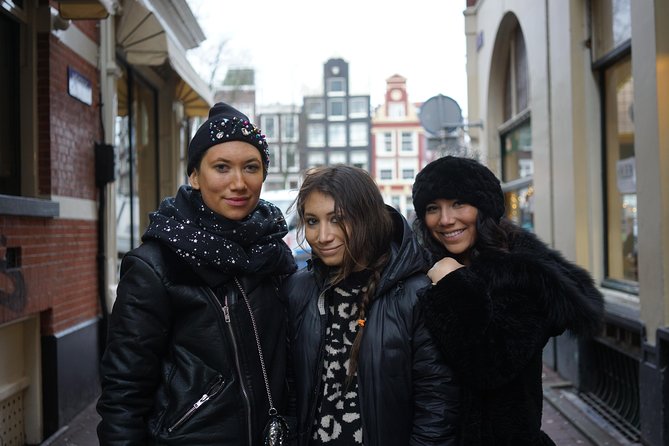
This tour keeps things simple, but you will get better results if you prep a little. The most explicit guidance is to wear comfortable shoes. Beyond that, think about your photo setup.
Because the coaching includes smartphone photography for canals, have your phone ready and charged. Use whatever camera mode you are comfortable with, then follow your guide’s instructions first. After that, you can experiment with one or two adjustments and see which version looks best.
Also plan your expectations. This is a short tour, so focus on learning a few repeatable skills instead of hunting for perfection. If you master light and composition basics once, you will get more out of the rest of Amsterdam with your own walking plans.
If you like taking notes, consider jotting down the guide’s key tips on your phone. It is a quick way to remember what to do tomorrow when the next canal photo opportunity appears.
Who this private photo tour suits best
This experience is a great fit if you want:
- Phone-first photo improvement without needing fancy gear
- A guided route through three classic Amsterdam areas
- A professional portrait as an easy, included upgrade
- A private setting where you can ask questions and adjust on the fly
It is also a nice option if you are traveling as a small group and want everyone to leave with photos they feel good about. Since it is private, you are not competing for attention with a bigger crowd.
On the other hand, if you are looking for a slow, long-form wandering day with time for meals and long museum stops, this one will feel like it moves too fast. The value is in the focused coaching and the curated walk.
Should you book this Amsterdam See Shoot Share photo tour?
Book it if you want a practical photo lesson in a beautiful city, plus an included portrait that saves you time. For $66.09 and about 1.5 to 2 hours, it is good value when you treat it like a camera skills session, not just a walk.
Skip it if you hate walking, you need food and drink stops built into the plan, or you are expecting unlimited time at every spot. Also, if you already get consistent results from your phone and you only want sightseeing, you may find you are paying mostly for guidance you could already figure out alone.
If you are the type of traveler who wants better photos with less guesswork, this private tour hits the sweet spot. You get structured stops, real coaching topics for canals, and a portrait option that gives you something polished to take home.
FAQ
How long is the See Shoot Share photo tour in Amsterdam?
It runs about 1 hour 30 minutes to 2 hours.
Where does the tour start, and does it end there too?
You start at Dam 13, 1012 JS Amsterdam, Netherlands, and the activity ends back at the meeting point.
What language is the tour offered in?
The tour is offered in English.
What’s included in the portrait portion?
You get an exclusive portrait with the Quick Shot Tour option. Take Two includes 3 portraits, and Slo Mo includes 5 portraits.
Are food or drinks included?
No, no food or drinks are included.
Is this a private tour?
Yes. It is a private tour, and only your group participates.
Is free cancellation available, and how far in advance can I cancel for a full refund?
Yes, you can cancel for a full refund if you cancel up to 24 hours in advance of the experience start time. If you cancel less than 24 hours before, the amount you paid is not refunded.
Latest to arrive along the quays of Amsterdam


Photography Sessions, compared.
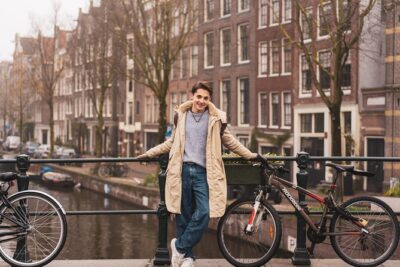
Amsterdam Canal, Tulip, Windmill Photoshoot | Custom Request
Read our review →Amsterdam Canal, Tulip, Windmill Photoshoot | Custom Request
Read our review →
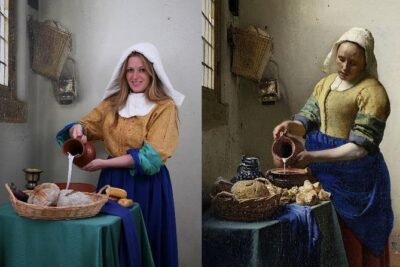
Become a Dutch Art Piece Photo Shoot in Amsterdam
Read our review →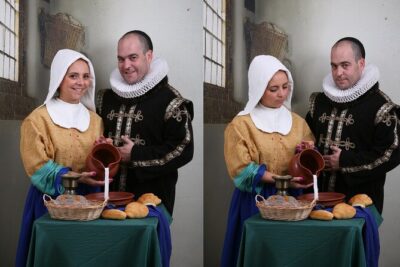
Become a Dutch Art Piece Photo Shoot in Amsterdam – Single Portrait
Read our review →
Premium Romantic Photoshoot Experience for Couples
Read our review →
Taking Pictures in the Tulip Field at De Tulperij
Read our review →Browse the lists this tour appears in