
Reviewed · PHOTOGRAPHY SESSIONS
Capture Iconic Amsterdam: Photo Walk with a Pro Photographer
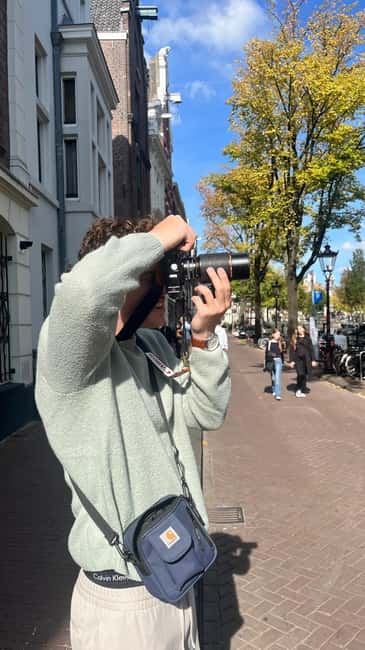
A camera, two and a half hours, and Amsterdam at your feet. This photo walk mixes famous sights with quieter corners, guided by Joep and built around real techniques you can use right away. I like that you get personal feedback on your own images, not generic advice. I also like the practical focus on settings and tools you already own, from DSLRs to smartphones.
One thing to plan around: on the 9 AM tour, the Begijnhof inner courtyard is closed, so you’ll photograph the surrounding area instead. If you were counting on that exact shot, you’ll want to adjust your expectations or choose a later start.
In This Review
- Key highlights you’ll actually use
- Why this Amsterdam photo walk makes sense for beginners and enthusiasts
- Meeting at Dam Square, then getting your settings right before you shoot
- Begijnhof at street level first, then what changes on other tours
- Photo stop at Wijde Heisteeg, how to spot a strong angle fast
- Flower Market time: practicing detail shots without losing your exposure
- Herengracht and reflections: building classic canal photos with real technique
- Reguliersgracht and Zuiderkerk area: depth, balance, and practical composition
- The camera skills you practice: depth-of-field, long exposures, motion blur
- On-the-go post-processing and a quick image review that helps you improve
- What you get besides the walk: map, technical booklet, and tailored feedback
- Price and value: is $112 per person worth it?
- Getting the most out of it: what to bring and how to think during the walk
- Who should book this photo walk in Amsterdam
- Should you book Capture Iconic Amsterdam?
- FAQ
- Where is the meeting point?
- How long is the photo walk?
- Is camera gear provided or do I bring my own?
- Will the tour work for smartphone photography?
- What camera techniques will I practice?
- Is the tour wheelchair accessible?
- What’s included in the price?
Key highlights you’ll actually use
- Hands-on camera setup help: ISO, aperture, and shutter speed tuned to your device.
- Depth-of-field, long exposures, split-toning, motion blur taught in plain steps you can try immediately.
- Begijnhof photo strategy changes by time, plus a clear rule that in the courtyard smartphones work better than DSLRs.
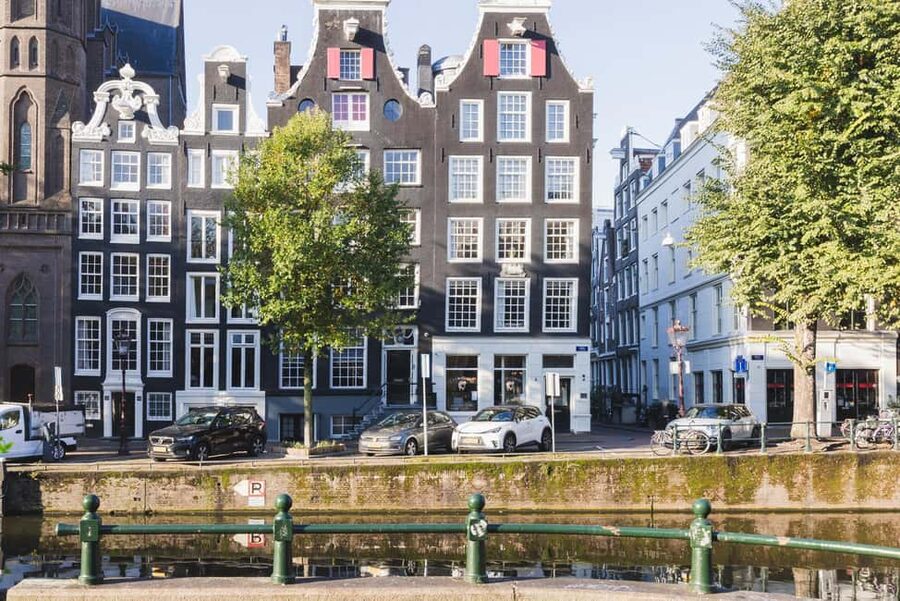
- Canal composition coaching for reflections, symmetry, and leading lines on Herengracht and nearby bridges.
- Exposure sanity checks using the histogram, so skies and canal water don’t turn into clipped mess.
- Simple post-processing workflow with camera custom profiles or popular mobile editing apps, plus matte-curve and film-style grain tips.
Why this Amsterdam photo walk makes sense for beginners and enthusiasts
Amsterdam can be great for photos, but it can also be overwhelming. You get hit with canals, gabled houses, and bridges so fast that even confident photographers end up shooting on autopilot. This tour is built to slow you down without killing your momentum. You stop at specific places, then you learn what to do at that exact moment.
The first win is the way the guide works with your camera, not against it. Before you walk far, you check equipment and basic settings so you can start capturing rather than fiddling. The second win is feedback. You review shots on your camera screen during the walk, so you learn what changed your results.
The pacing is also realistic. This is a walk through the city, not a bus tour. You cover a set route for about 2.5 hours, and the stops are short enough that you keep moving, but long enough to practice. You’ll also get flexibility, including a chance to pause for coffee if you want.
More Guided Walking Tours in Amsterdam
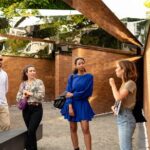
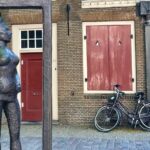
Meeting at Dam Square, then getting your settings right before you shoot
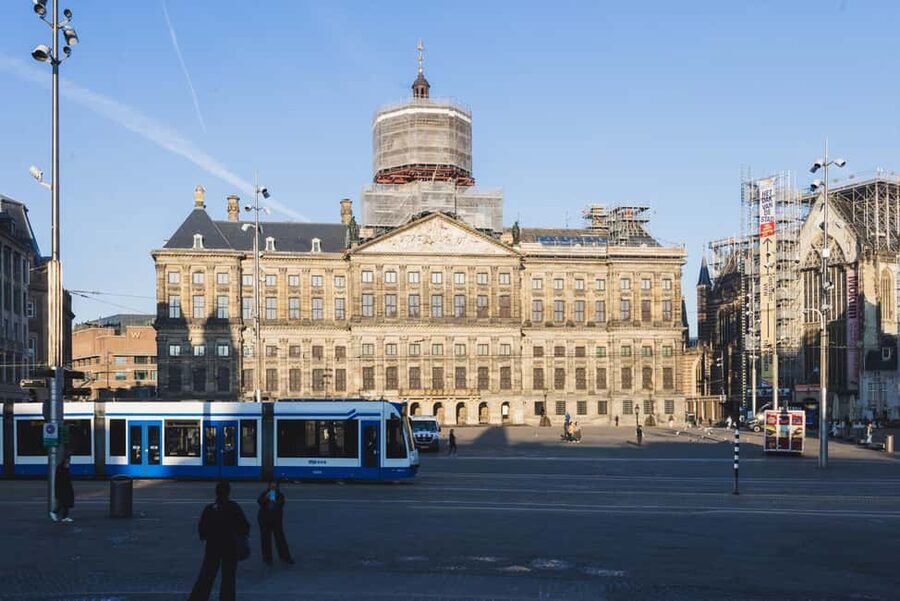
You meet at the National Monument on Dam Square, at the foot of the tall white stone pillar. It is easy to spot, and it gives you a strong starting point because Dam Square is bright and open, so you can see how your exposure behaves.
From there, Joep checks your gear and level. If you have a DSLR or mirrorless, you’ll talk through settings like ISO, aperture, and shutter speed. If you have an advanced compact, the focus still lands on controlling those same basics. If you’re on a smartphone, you’ll still get practical direction, just adapted to what the phone can do.
This part matters because most photo issues in Amsterdam are not “I forgot the magic setting.” It’s usually exposure and focus. The guide helps you set up so you can actually use the changing light you’ll face throughout the morning or early afternoon.
Begijnhof at street level first, then what changes on other tours
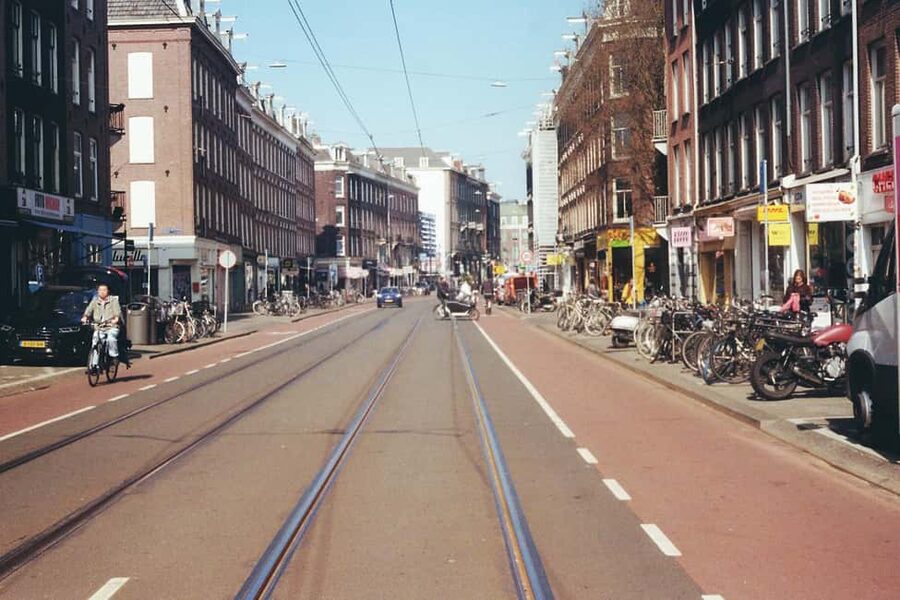
Begijnhof is one of those Amsterdam locations that can look romantic in photos, but also teaches you composition. You start with a photo stop and then a visit with a short class segment where you learn how to work the scene.
Here is the practical detail: for the 9 AM tour, the inner courtyard is still closed. So you’ll photograph the surrounding area with historic buildings and picturesque alleyways instead. It’s not a consolation prize. It’s a good training ground because you’ll practice making strong images with angles and pathways, not just a single postcard view.
On later tours, you’ll enter the courtyard itself. And there’s an important rule: this courtyard is a challenge for smartphone photography, since DSLRs are not allowed inside. If you’re bringing a smartphone, this is great news. If you’re bringing a DSLR or mirrorless and your dream is a courtyard shot, you’ll want to be sure you’re on a tour that actually includes that space.
Photo stop at Wijde Heisteeg, how to spot a strong angle fast
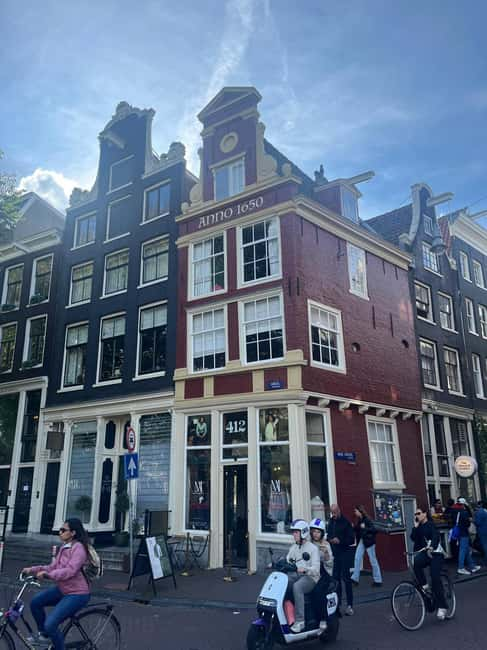
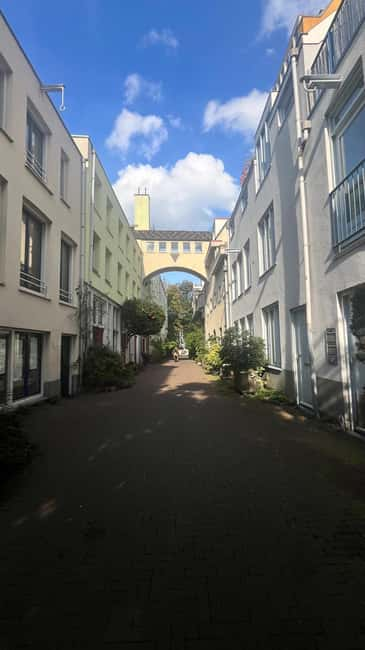
Between Begijnhof and the more open canal views, you’ll work your way toward Wijde Heisteeg. This stop is short, around 15 minutes, but it is useful. It’s where you practice street-level framing and find a composition without needing a huge dramatic view.
This kind of stop is underrated. Amsterdam is full of lines, windows, narrow corners, and repeating shapes. If you only shoot the biggest canal angles, you miss the images that look personal and lived-in. A short coached stop like Wijde Heisteeg gives you a chance to build that eye.
Flower Market time: practicing detail shots without losing your exposure
After you move toward central streets, you pass by and then stop at the Amsterdam Flower Market. It’s a colorful area, perfect for detail work.
This is where I think the tour does well for photographers at different levels. If you’re new, color and texture help you focus on fundamentals like sharpness and exposure. If you’re more advanced, you can aim for control: close focus, selective depth-of-field, and careful highlight handling so bright colors do not blow out.
The practical approach is to treat the market like a mini studio. Try a few compositions, then adjust one thing at a time. The guide’s camera coaching earlier helps you do that without chaos.
More gables counted on foot:
- Amsterdam: Anne Frank Guided Walking Tour in DE/EN/IT/ES
★ 4.9 · 3,107 reviews - Amsterdam: Anne Frank Guided Small Group Walking Tour
★ 4.8 · 2,722 reviews - Amsterdam: Cultural Highlights Walking Tour
★ 4.9 · 2,629 reviews - Amsterdam: Ganja Walking Tour
★ 4.2 · 2,127 reviews
Herengracht and reflections: building classic canal photos with real technique
One of the best parts of this route is how it takes you from small alleyways to big canal scenes. You go through a hidden alley, Dubbele Worststeeg, and then you open up into Herengracht.
This is the moment where the tour turns into a real learning lab. Joep points out how to use:
- reflections in the water
- symmetry from bridges
- leading lines that guide the eye toward the gabled houses
If you’ve ever tried to photograph a canal and felt like your result looked flat, it’s usually because you did not plan your geometry. Symmetry and reflections can give you instant depth, but only if you frame it intentionally. This is exactly where the guide helps you.
You’ll also learn how to manage exposure, not just pick a pretty shot. The tour includes instruction on reading your histogram, so you avoid overexposed highlights in the sky and clipped shadows in the canal water. That’s the kind of detail that improves photos immediately.
Reguliersgracht and Zuiderkerk area: depth, balance, and practical composition
You then move toward Reguliersgracht, with both a walk phase and a dedicated photo stop with a short class. Reguliersgracht is a great place to practice because you can keep foreground and background working together. You get enough structure to build layers, but it’s not so wide that everything turns into a blur of buildings.
After that, the route circles toward the Zuiderkerkbuurt area with a guided walk segment. The big learning here is how to balance the frame.
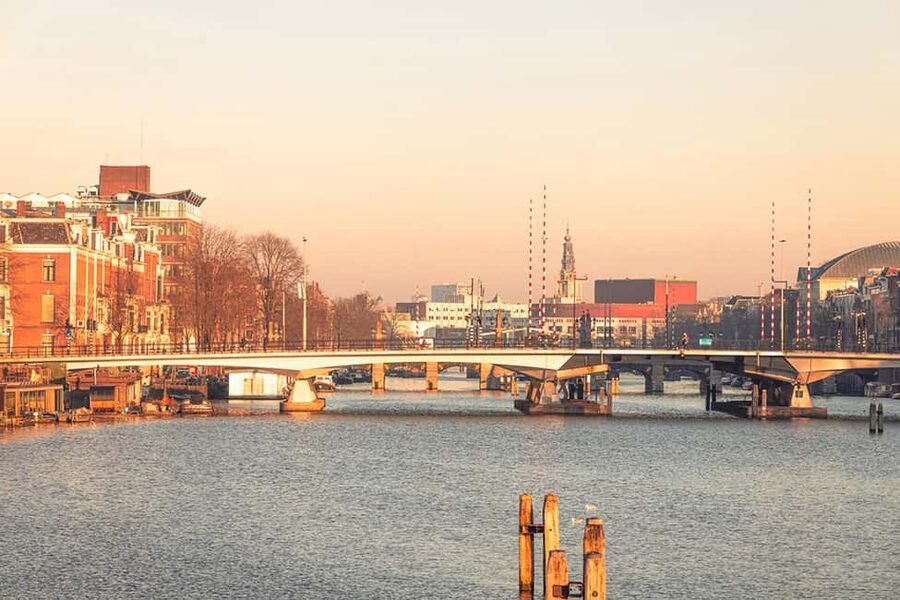
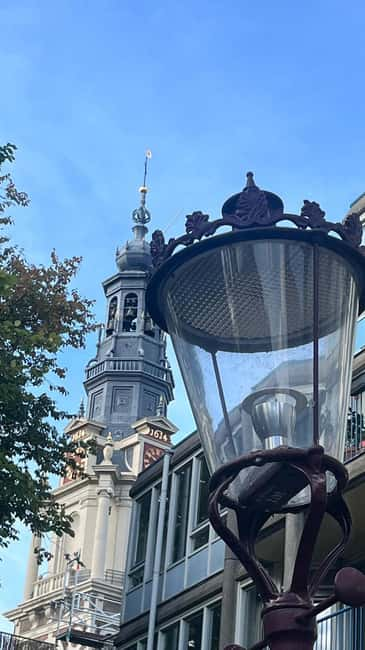
You’ll also stop at viewpoints tied to bridges, including Aluminiumbrug and Staalmeestersbrug for classic city views, including a view that frames the Zuiderkerk tower. Even if you’ve seen this tower in photos a hundred times, the tour’s angle is about making the view your own through:
- camera position
- composition choices
- depth planning
If you like photographs that feel clean and structured, these bridge stops are where you’ll get the most out of the coaching.
The camera skills you practice: depth-of-field, long exposures, motion blur
This tour doesn’t just point. It teaches shooting techniques you can test on the street.
You’re coached to work on:
- depth-of-field for clearer subject separation
- long exposures for motion blur effects
- split-toning for a creative color mood
- creative motion blur when the city movement becomes part of the story
The value is that you learn how to apply these techniques in a real environment, not in a vacuum. Amsterdam gives you natural subjects for long exposure, like moving people, boats, and the flow of light and reflections. When you practice here, you learn what changes your photo rather than just collecting settings.
On-the-go post-processing and a quick image review that helps you improve
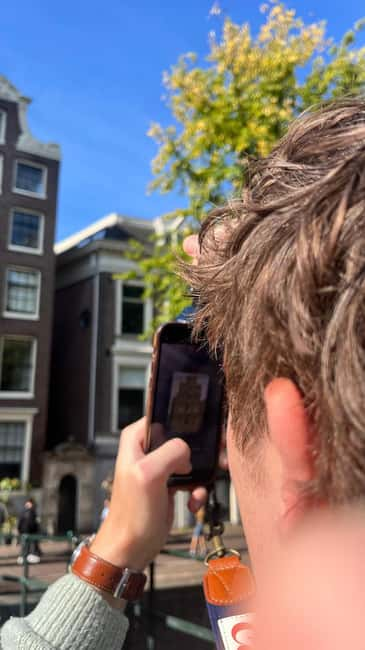
As you return toward Dam Square, you get practical guidance on post-processing. This isn’t a “go home and learn software for weeks” promise. It’s quick methods that you can actually use, based on what you can set up during the tour.
You’ll get tips for on-the-go editing using:
- camera custom profiles, if your camera supports that approach
- popular mobile editing apps
The specific instruction includes:
- matte-curve treatments (to manage contrast feel)
- enhancing color contrast
- adding subtle film-style grain
Then you review images live, including a session over coffee. That part is important because it turns “I took photos” into “I learned something from the photos I took.” You can see which adjustments helped, and the guide can give personalized notes based on what you captured.
What you get besides the walk: map, technical booklet, and tailored feedback
This experience is not only a route through town. You also get learning materials that help you keep improving after the walk ends.
Included items:
- an illustrated walking map of all the photo stops
- a detailed technical booklet with camera settings and workflows
- one-to-one feedback on your own images
- five pro post-processing tips to apply after the tour
For me, the booklet and map are the best long-term value. Amsterdam streets look similar until you need to find the exact spot again. Having an illustrated route and technical notes makes it easier to repeat results later, especially if you liked a specific bridge angle or canal reflection framing.
Price and value: is $112 per person worth it?
At $112 per person for 2.5 hours, you’re paying for more than guiding. You’re buying a structured practice session with personalized feedback, plus learning assets (map and booklet) and post-processing tips.
Here’s how I judge value for this kind of tour:
- If you’re a beginner, the personalized setup help can save you weeks of trial and error.
- If you’re intermediate, the histogram coaching and composition coaching are the kind of refinements that quickly upgrade results.
- If you’re advanced, the pro post tips and the live image review can help you tighten your workflow.
What’s not included is also part of the decision. You bring your own camera and gear. You’ll need batteries and memory cards. If you expect the tour to provide equipment, you’ll need to adjust. But if you already have a camera, the investment feels focused, not vague.
Getting the most out of it: what to bring and how to think during the walk
Bring what you’ll shoot with: DSLR, mirrorless, advanced compact, or a smartphone. The tour checks equipment at the start, so arriving with a fully charged battery and plenty of storage helps you learn faster.
Wear comfortable shoes. The route includes cobblestones and walking between stops. A small backpack or bag keeps gear together, and it reduces the chance you lose a camera strap or fumble a lens cap when the light changes.
Also, show up ready to experiment. This tour works best when you try more than one frame in each setting. When the guide says try a longer shutter, you don’t want to treat it as a one-time trick. Do two or three variations and watch what changes on your screen.
Who should book this photo walk in Amsterdam
This is a strong fit if you want:
- hands-on instruction, not a lecture
- coaching tailored to your camera and skill level
- a route that mixes iconic Amsterdam views with quieter streets and alleys
It’s especially good if you want to avoid crowd chaos and keep your attention on learning. The tour is designed with a small group approach and private group format, so the guide can adjust to what you’re aiming to photograph.
If you love canals, bridges, and reflection shots, you’ll feel at home. If you prefer street-level details, stops like Begijnhof surroundings and Wijde Heisteeg can be just as satisfying.
Should you book Capture Iconic Amsterdam?
Book it if you want to leave with more than photos. You’ll come away with specific techniques to try, plus a map and a technical booklet that help you reproduce results. The one-to-one feedback and the guided live review over coffee are the kind of added value that makes the $112 price feel purposeful.
Skip it only if you want a casual walk with sightseeing and no focus on settings. This experience is built around learning how to see and how to control exposure, including histogram checks and practical post-processing steps.
If you can handle a 2.5 hour walking tour on cobblestones, and you want to improve your Amsterdam photos fast, this is a smart way to spend a morning or early part of your day.
FAQ
Where is the meeting point?
You meet at the foot of the National Monument on Dam Square, at the tall white stone pillar in the middle of the plaza.
How long is the photo walk?
The duration is about 2.5 hours.
Is camera gear provided or do I bring my own?
You bring your own camera. The tour includes DSLR, mirrorless, advanced compact, or a smartphone.
Will the tour work for smartphone photography?
Yes. In the Begijnhof courtyard on later tours, smartphone photography is emphasized, and DSLRs are not allowed in that courtyard area.
What camera techniques will I practice?
You’ll learn and practice depth-of-field, long exposures, split-toning, and creative motion blur, along with basics like ISO, aperture, and shutter speed.
Is the tour wheelchair accessible?
Yes, the tour is wheelchair accessible.
What’s included in the price?
Included are the guided pro photo walk, hands-on demos of shooting techniques, personalized feedback, a live image review session over coffee, an illustrated walking map, a detailed technical booklet, and five pro post-processing tips.
More Photography Sessions in Amsterdam
- Amsterdam Canal, Tulip, Windmill Photoshoot | Custom Request★ 4.9 · 307 reviews
- Amsterdam Canal, Tulip, Windmill Photoshoot | Custom Request★ 5.0 · 147 reviews
- Amsterdam: Foam Photography Museum Admission Ticket★ 4.2 · 141 reviews
- Become a Dutch Art Piece Photo Shoot in Amsterdam★ 5.0 · 100 reviews
Latest to arrive along the quays of Amsterdam

Photography Sessions, compared.
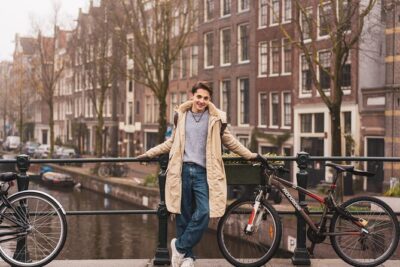
Amsterdam Canal, Tulip, Windmill Photoshoot | Custom Request
Read our review →Amsterdam Canal, Tulip, Windmill Photoshoot | Custom Request
Read our review →
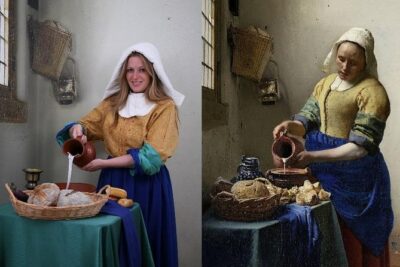
Become a Dutch Art Piece Photo Shoot in Amsterdam
Read our review →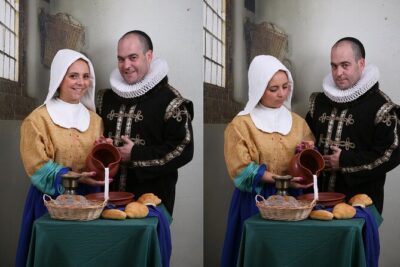
Become a Dutch Art Piece Photo Shoot in Amsterdam – Single Portrait
Read our review →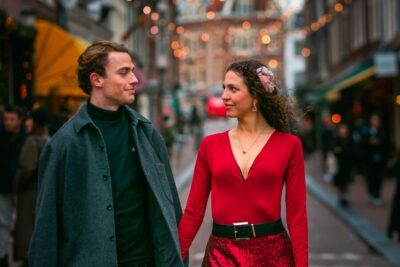
Premium Romantic Photoshoot Experience for Couples
Read our review →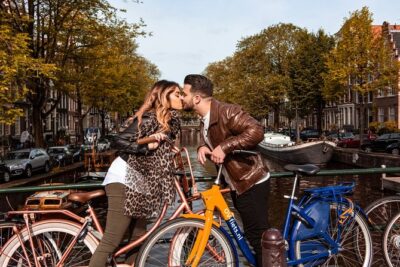
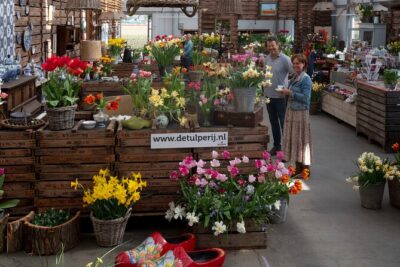
Taking Pictures in the Tulip Field at De Tulperij
Read our review →Browse the lists this tour appears in