
Reviewed · PHOTOGRAPHY SESSIONS
Amsterdam Photography Masterclass – Private Photography Lesson
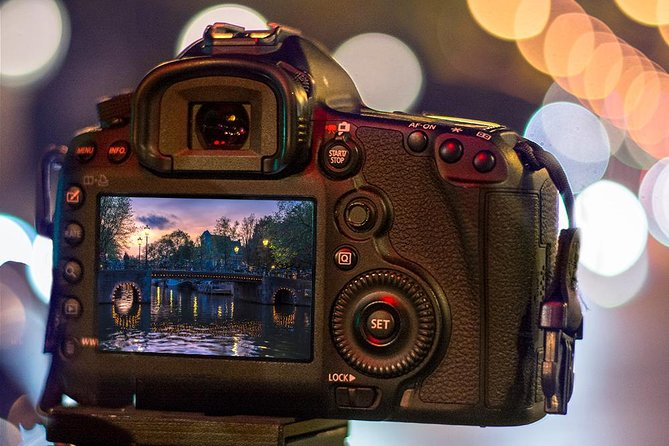
A few hours with a camera coach can change everything. This private Amsterdam photo class mixes hands-on instruction from a professional photographer with a walk to some of the city’s most photogenic spots, so you learn how to see and shoot, not just where to stand.
My favorite part is that the route stays tightly focused, with short shooting windows so you try ideas fast and get feedback right away. One thing to plan for, though, is that you need to bring your own DSLR camera and be ready to work in whatever weather Amsterdam hands you.
In This Review
- Key Highlights You’ll Feel During the Walk
- Starting at Leidsekade: how this 3-hour lesson stays productive
- Your camera coach actually changes what you shoot
- Nine Amsterdam photo stops, and what makes each one worth your lens
- Stop 1: Amsterdams Lieverdje statue
- Stop 2: Voetboogstraat and the De Voetboogsteeg area
- Stop 3: Leidsegracht bridges
- Stop 4: Rijksmuseum grounds
- Stop 5: Magere Brug over the Amstel
- Stop 6: Nieuwe Kerk
- Stop 7: Blauwbrug
- Stop 8: Nieuwmarkt
- Stop 9: Huis Bartolotti (Museumhuis Bartolotti)
- Daytime vs evening: choose the light that matches your goals
- What you should bring (and why your camera matters here)
- Price and value: $204.24 for a private pro-led lesson
- Who will love this most, and who should think twice
- Should you book it?
- FAQ
- How long is the Amsterdam Photography Masterclass?
- Where is the meeting point?
- Is this tour private?
- How many people can be in a booking?
- Do I need to bring my own camera?
- Is a tripod included?
- Does the experience run in bad weather?
- Are there admission fees for the photo stops?
- What is the cancellation policy?
Key Highlights You’ll Feel During the Walk
- Private lesson for up to 4 people, so your questions do not get lost in a crowd
- A pro photographer guide plus a local guide, pairing camera help with practical location smarts
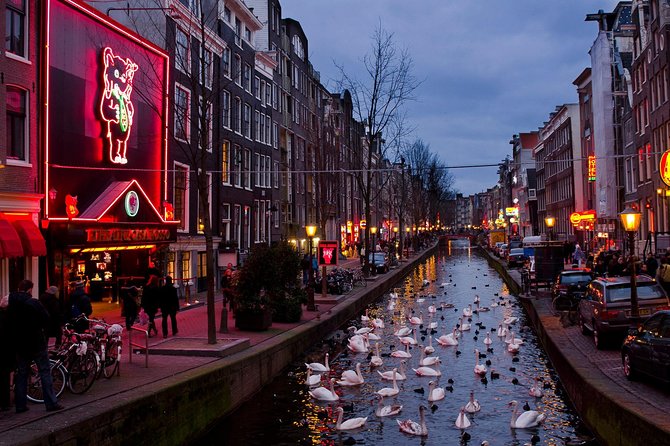
- Daytime or evening sessions, useful if you want bright canals one day or night shots another
- Nine photo stops with free access, so you can focus on shooting instead of tickets
- Short, repeatable 20-minute shooting blocks, great for beginners who want fast progress
- Tripod available on request, handy for steadier low-light photos
Starting at Leidsekade: how this 3-hour lesson stays productive
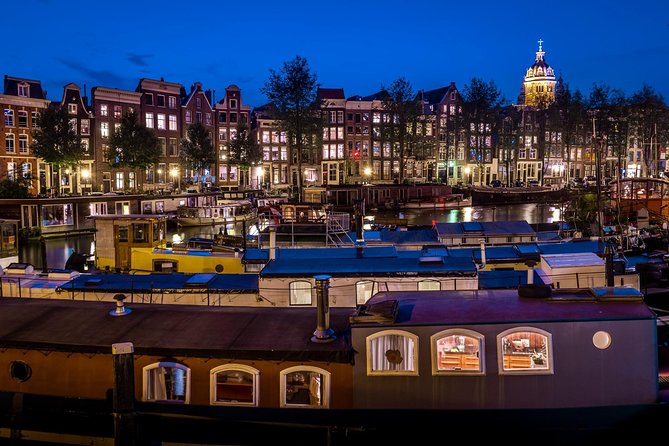
This experience meets at Leidsekade 97, 1017 PN Amsterdam. You also end back at the same point, which keeps things simple and reduces the stress of figuring out the route on your own.
The total time is about 3 hours, and the day is built around short shooting bursts at multiple iconic corners. That matters because it stops the common problem with travel photography, you spend too long walking, then run out of time for actual practice. Here, you get repeated chances to try a new idea, adjust, and shoot again.
And since it operates in all weather conditions, you should dress for wind and drizzle as needed. Think layers you can move in, with shoes you can trust on cobblestones.
More Private Tours in Amsterdam
Your camera coach actually changes what you shoot
This is not a “stand and pose” photo tour. It’s a private photography lesson with both a local guide and a professional photographer guide, and that combo is the real advantage.
A local guide helps you get to the right angles without wasting time. The pro photographer guide focuses on what your camera can do, then helps you translate that into real pictures. In plain terms, you learn how to set up shots and how to correct them fast, instead of hoping the next frame magically works.
The best proof is what people say about the teaching. One guide, Renzo, is praised for taking time to teach and for helping with night photos when the camera settings felt confusing. Another guide, William, is noted for tailoring the walk to the kind of pictures you want, then giving direct pointers on camera settings to help you get great shots.
Nine Amsterdam photo stops, and what makes each one worth your lens
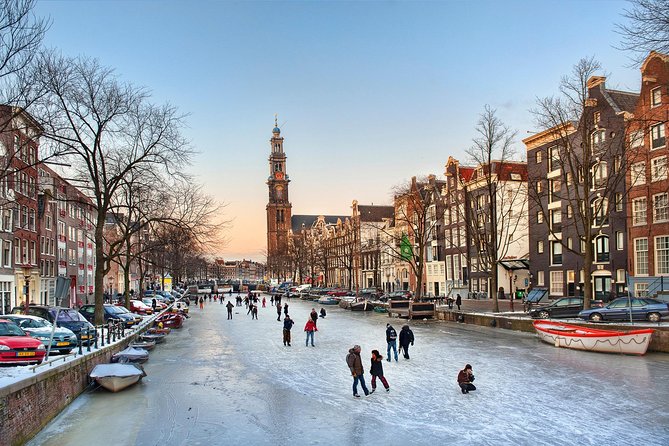
You’ll move through a compact set of highly shootable places, spending around 20 minutes per stop. That schedule is ideal for beginners because it creates momentum. It also helps you build a mini portfolio by the end, not just a handful of lucky images.
Stop 1: Amsterdams Lieverdje statue
You start with the Statue Amsterdams Lieverdje, a quick hit that’s easy to frame and great for learning composition basics. If you’re new, this is a friendly warm-up: you can practice getting close details, then step back for a wider context shot.
A short lesson like this is useful because it teaches you to look at light and background before you even touch the shutter.
Stop 2: Voetboogstraat and the De Voetboogsteeg area
Next up is Voetboogstraat, with focus around Beijbhof de Voetboogsteeg. These narrow streets tend to reward careful positioning, because angles and backgrounds can either clean up your image or ruin it with clutter.
This is a good stop to practice controlling lines in the street and making sure your subject stays obvious.
Also flying a pennant in Amsterdam
- Amsterdam Canal, Tulip, Windmill Photoshoot | Custom Request
★ 4.9 · 307 reviews - Amsterdam Canal, Tulip, Windmill Photoshoot | Custom Request
★ 5.0 · 147 reviews - Amsterdam: Foam Photography Museum Admission Ticket
★ 4.2 · 141 reviews - Become a Dutch Art Piece Photo Shoot in Amsterdam
★ 5.0 · 100 reviews
Stop 3: Leidsegracht bridges
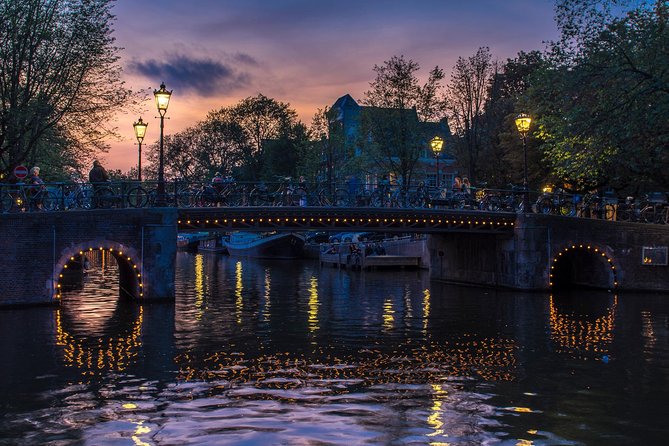
At Leidsegracht, you shoot the bridges along Leidsegracht. Canal bridges are a cheat code for photographers: you naturally get leading lines, strong symmetry opportunities, and reflections when the water cooperates.
If you like crisp geometry, this stop is for you. If you like softer, moody looks, this is also where you can experiment with how settings affect water and sky.
Stop 4: Rijksmuseum grounds
You’ll photograph the Rijksmuseum and its grounds. The key is that you’re shooting the museum setting without getting stuck in the logistics of museum entry. That keeps your lesson moving and gives you time for framing the building and finding photogenic surrounding angles.
If you’re aiming for classic Amsterdam views, this is where you can practice making the architecture feel intentional, not just captured.
Stop 5: Magere Brug over the Amstel
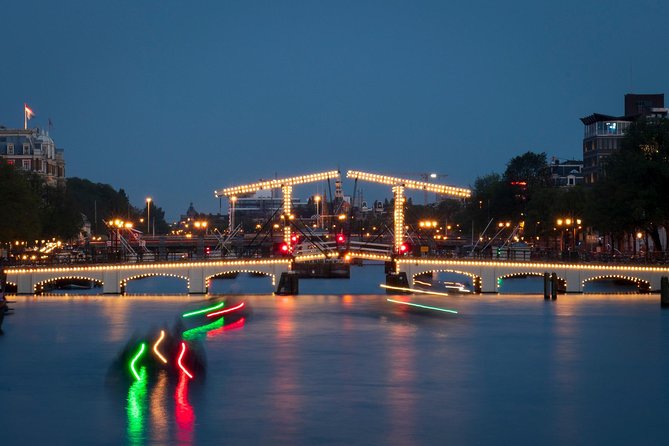
At Magere Brug, you focus on the Amstel and the bridge. Bridges here are perfect for learning how to balance a tall subject with a horizontal or winding waterline.
This is also an excellent moment for practicing how small changes in your position can transform a photo from ordinary to postcard-like.
Stop 6: Nieuwe Kerk
You’ll head to Nieuwe Kerk for your next shooting block. Churches and historic buildings can be tricky because you often deal with vertical lines that either straighten nicely or lean dramatically.
This stop is a good place to work on framing choices: where you place the horizon, how high you aim, and how to keep the subject dominant.
Stop 7: Blauwbrug
Then comes Blauwbrug. Smaller bridges can be just as rewarding as the famous ones because there’s less competition in the frame and more opportunity to focus on texture and detail.
This is a smart stop for learning selective framing, like tightening your shot to emphasize a railing, curve, or reflection.
Stop 8: Nieuwmarkt
At Nieuwmarkt, you’ll shoot the area with the kind of street energy that makes Amsterdam photographs feel lived-in. This is where you can shift from architectural precision to more human-scale shots, depending on what you like.
If you’re working on learning settings, this stop also gives you variety in lighting and contrast.
Stop 9: Huis Bartolotti (Museumhuis Bartolotti)
Your final photo block is at Huis Bartolotti (Museumhuis Bartolotti). This kind of stop is great for practicing details and making a building feel tactile, not flat.
By the end, you’ll likely be more confident about what to adjust because you have already gone through multiple location challenges.
Daytime vs evening: choose the light that matches your goals
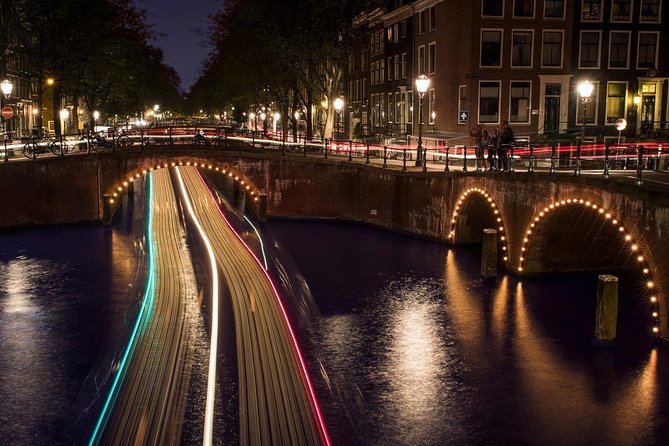
A huge scheduling advantage is that you can pick daytime or evening. This matters because night photography is not just about turning the camera on and hoping. Light changes everything, including how you hold the camera steady and how you manage exposure.
One highlight from the teaching experience: Renzo is specifically praised for helping someone learn how to shoot night photos, and getting them successful when they had not been before. That tells you the class does real coaching, not just a walk around at dusk.
If you choose the evening option, plan to dress for cold and wet. Also consider using a tripod if you’ve got one or if you can request it. The tour says a tripod is available upon request, which is handy when low light forces you to slow down shutter speeds.
What you should bring (and why your camera matters here)
You’ll want to bring your own DSLR camera. The experience also notes that a camera is not included, so you are responsible for your own gear.
A DSLR is the right match for learning because you can access manual or semi-manual controls and see how settings impact exposure and sharpness. The guides can only help you work with what you actually have in your hands.
If you’re hoping for steadier night shots, remember that a tripod can be requested. And if you don’t have one, you might still do fine, but expect that you will focus more on composition, angle, and technique for steadiness.
Also, be prepared for movement. This is a walk, and Amsterdam’s center has uneven surfaces.
Price and value: $204.24 for a private pro-led lesson
At $204.24 per person, this is not the cheapest thing you can do in Amsterdam. But it can be good value if you care about learning quickly and getting real feedback.
Here’s why: it’s private and capped at a maximum of 4 people per booking. With a smaller group, the photographer can spend less time managing logistics and more time correcting your photos and explaining why one setting works better than another.
You also get a mobile ticket, and each photo stop is listed as admission free, which helps keep the overall cost predictable. Plus, since it’s offered in English and runs in all weather conditions, you are paying for a guided, teachable session that does not depend on perfect skies.
Finally, the fact that it’s commonly booked around 31 days in advance on average suggests demand for this kind of hands-on coaching. If you want a specific date, it’s smart to lock it in earlier rather than later.
Who will love this most, and who should think twice
This experience fits best if you want to do more than sightseeing with a camera. It’s especially useful if you’re:
- a beginner who wants practical guidance on camera settings
- someone who struggles with night photos
- a traveler who likes structured photo stops and fast feedback
It may be less ideal if you:
- are traveling without a DSLR
- expect the tour to include camera rental or a provided camera
- want long time sitting inside museums, since this focuses on photography around notable buildings and spaces
Also, because each location gets about 20 minutes, it helps if you enjoy moving at a steady pace. If you prefer ultra-slow wandering, you may wish you had more time at fewer stops.
Should you book it?
If you’re the type who wants better photos, not just more photos, I think this is a strong choice. The private size, the pro photography coaching, and the fact you can pick day or evening make it a practical upgrade to a normal photowalk.
Book it if you want to learn settings and framing in real locations and come home with images that feel intentional. Skip it only if you are truly just after casual photos and you do not want to bring your DSLR or work on technique.
If you do book, choose the time of day that matches your goal. Daytime helps you build composition and confidence fast, while evening can turn into real night photography practice.
FAQ
How long is the Amsterdam Photography Masterclass?
It lasts about 3 hours.
Where is the meeting point?
The meeting point is Leidsekade 97, 1017 PN Amsterdam, Netherlands.
Is this tour private?
Yes. It is a private tour/activity, and only your group participates.
How many people can be in a booking?
The tour has a maximum of 4 people per booking.
Do I need to bring my own camera?
Yes. You are asked to bring your own DSLR camera, and a camera is not included.
Is a tripod included?
A tripod is available upon request. It is not listed as automatically included.
Does the experience run in bad weather?
Yes. It operates in all weather conditions, so you should dress appropriately.
Are there admission fees for the photo stops?
No. The listed photo stops show admission ticket free for each location.
What is the cancellation policy?
You can cancel for a full refund up to 24 hours in advance of the experience start time. If you cancel less than 24 hours before, the paid amount is not refunded.
Benches, Tools Out
- Amsterdam: Traditional Dutch Syrup Waffle Making Workshop★ 4.8 · 4,093 reviews
- Amsterdam Traditional Dutch Syrup Waffle Making Workshop★ 5.0 · 960 reviews
- Amsterdam: Bols Cocktail Experience and Cocktail Workshop★ 4.8 · 666 reviews
- Amsterdam: Traditional Dutch Blue Tile Painting Workshop★ 4.7 · 400 reviews
Latest to arrive along the quays of Amsterdam

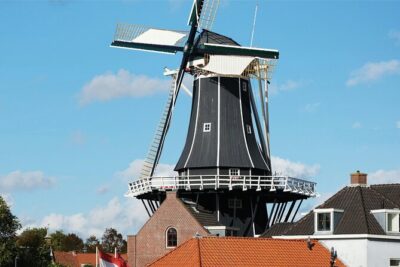
Photography Sessions, compared.
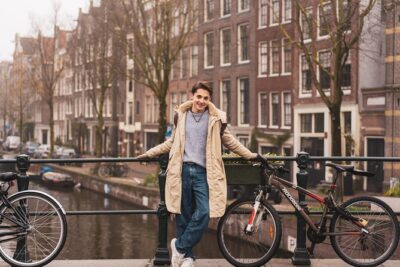
Amsterdam Canal, Tulip, Windmill Photoshoot | Custom Request
Read our review →Amsterdam Canal, Tulip, Windmill Photoshoot | Custom Request
Read our review →
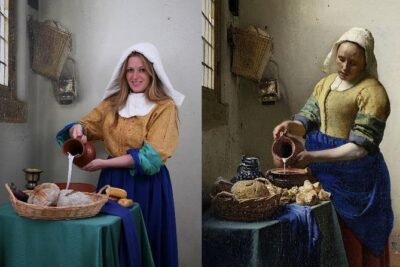
Become a Dutch Art Piece Photo Shoot in Amsterdam
Read our review →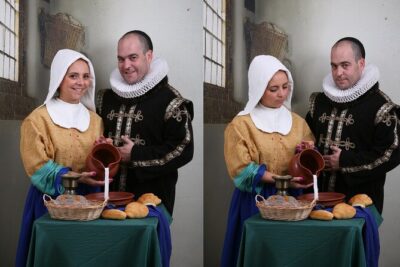
Become a Dutch Art Piece Photo Shoot in Amsterdam – Single Portrait
Read our review →
Premium Romantic Photoshoot Experience for Couples
Read our review →
Taking Pictures in the Tulip Field at De Tulperij
Read our review →Browse the lists this tour appears in