
Reviewed · PHOTOGRAPHY SESSIONS
Amsterdam: Photography Masterclass – Private Photo Lesson
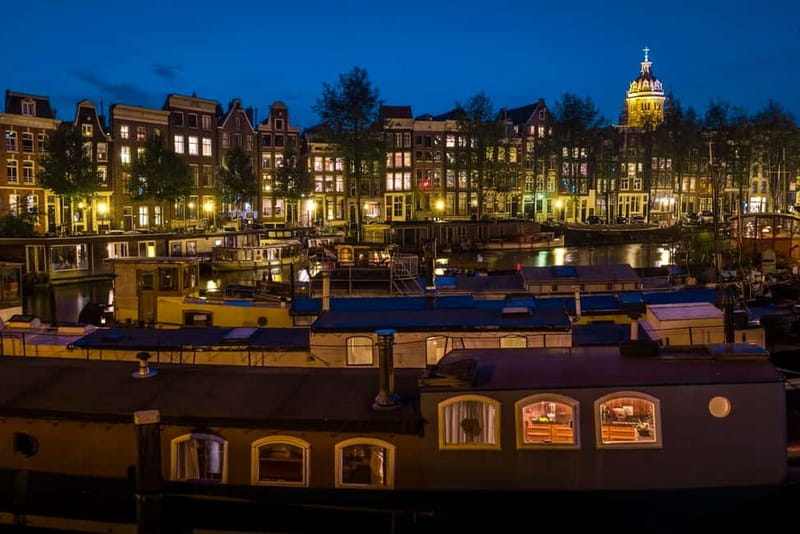
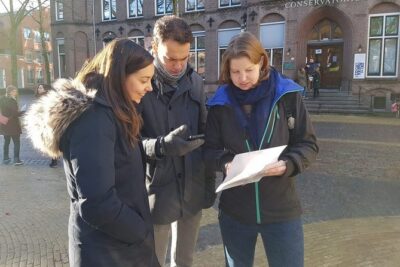
Amsterdam looks different when you learn to frame it. In this 3-hour private photo lesson, you walk the canal city with a pro photographer who helps you plan shots, not just shoot from the hip. You start with a quick check of how you’re currently taking photos, then the route and techniques shift to match your skill.
I really like that the session is hands-on, not a lecture. You get practical training like using f-stop, shutter speed, ISO, and focusing so your photos improve even after the tour ends. I also like that you’re not limited to a single style, because the instructor can steer you toward landmarks, people-watching, or viewpoints depending on what you enjoy.
One consideration: this is a photography class, so you need to be ready to think and adjust settings while walking. Also, a camera is not included, so you’ll want to bring your own gear and use it confidently.
In This Review
- Key things to love about this Amsterdam photo masterclass
- Why a 3-hour private lesson beats casual sightseeing with a camera
- Meeting at Hans Snoekfontein near Hotel Amsterdam American
- The skills check that actually changes what you do next
- Canal city practice, from Rijksmuseum sightlines to 17th-century views
- Composition tricks you can reuse immediately on your own
- Getting sharp results: focus, exposure, and camera control
- Flash and tricky light in Amsterdam streets
- The final review: turning practice into progress
- Price and value: $377 for up to two people
- Who this Amsterdam photo lesson is best for
- Should you book this Amsterdam photography masterclass?
- FAQ
- How long is the Amsterdam photography masterclass?
- Is this tour private?
- What is the price?
- What should I bring?
- Is a tripod included?
- Does the tour include portraits of you?
- What locations does the tour cover?
- What is taught during the lesson?
- Where is the meeting point?
- What’s the cancellation and payment flexibility?
Key things to love about this Amsterdam photo masterclass
- A private, tailored route: your tour is customized to your level after a skills review.
- Canals plus major landmarks: you’ll practice on the canal system and recognizable sights like the Rijksmuseum.
- Real camera control, not guessing: you work on aperture, shutter speed, ISO, and focusing.
- Composition practice in a walking setting: lines, repetition, and angles get applied to Amsterdam scenes as you go.
- Flash skills included: you learn how to get better results when light gets tricky.
- A final review so you improve faster: you end by going back over what you shot and what to do next.
Why a 3-hour private lesson beats casual sightseeing with a camera
Amsterdam is one of those cities where it feels unfair to take photos “normally.” Every corner has reflections, brick-and-stone textures, gabled roofs, and those signature canals lined up like they were designed for framing. The problem is, without guidance, you can end up with lots of shots that are technically fine but not especially satisfying.
That’s where this kind of private lesson earns its keep. You get time to troubleshoot your own camera habits and then apply fixes immediately. Instead of chasing perfect photos all day, you learn a repeatable approach you can use for the rest of your trip.
Also, the tour’s length is smart. Three hours is long enough to get a rhythm, but short enough that you can still leave with energy for the rest of your Amsterdam plans. In a city where you’ll likely want to do museums and cafés, this fits without swallowing your whole day.
More Private Tours in Amsterdam
Meeting at Hans Snoekfontein near Hotel Amsterdam American
You meet at the fountain Hans Snoekfontein in front of the Hotel Amsterdam American at Leidsekade 97, 1017 PN Amsterdam. The location is convenient for getting started because it’s right in the city core where you can quickly access canal streets and major sights.
If you’re using public transit, take the tram stop Leidseplein (trams 1, 2, 5, 7, 12, 19). If you’re arriving by taxi or ride-hailing, the meeting point is tied to the Hard Rock Hotel Amsterdam American area.
Before you go, make a simple plan for yourself: bring your camera and make sure you know how to switch modes and adjust basic settings. Even a little prep helps the instructor fine-tune what you should change.
The skills check that actually changes what you do next
The tour starts with a review of your photography and technical skills. This matters because the best camera advice is the advice you can use immediately. If you’re just starting, you might work on composition basics and how to manage exposure without panic. If you already understand settings, you can spend more time on more deliberate choices, like controlling depth of field or dialing in focus.
After the initial check, the instructor customizes the tour to your level. That customization can show up in small but meaningful ways, like where you spend time and what kinds of scenes you prioritize.
You should expect instruction that is practical and specific, including:
- composition using lines, repetition, and camera angles
- training your eye for subjects and lighting
- how to get more from flash
- controlling your camera with f-stop, shutter speed, ISO, and focusing
And because it’s a private group, you’re not competing for attention. You can ask questions when something isn’t working, instead of waiting your turn behind a larger crowd.
Canal city practice, from Rijksmuseum sightlines to 17th-century views
The walking portion is built around photographing Amsterdam as it really feels. You follow the canals, and you’ll shoot in a mix of locations that connect the city’s famous landmarks with the details that make canal life so visually addictive.
The tour includes major highlights such as:
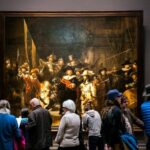
- the Rijksmuseum
- beautiful churches
- the best spots to shoot the 17th-century canal system
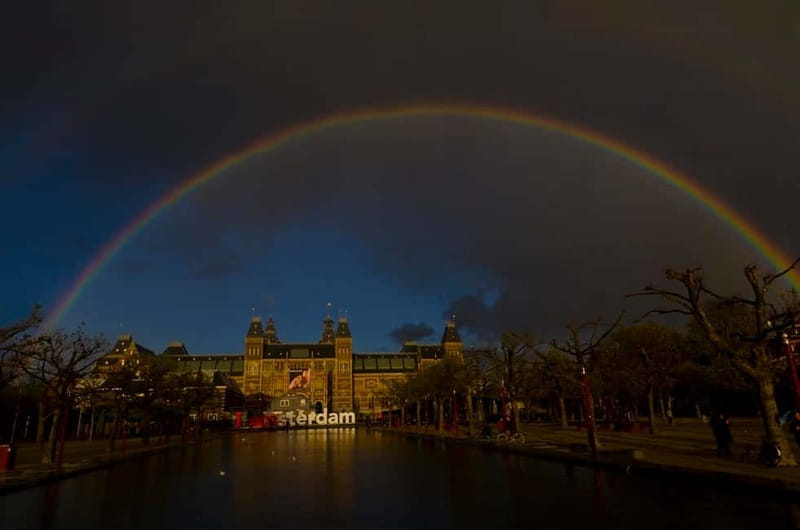
Here’s how that can play out in a photo-thinking way. When you’re near a grand landmark like the Rijksmuseum, the challenge becomes more than “get the building in frame.” You’ll work on how to control perspective, manage brightness differences between buildings and water, and choose angles that create balance rather than just postcard symmetry.
When you shift toward churches, the focus often becomes vertical lines and careful framing. You want a viewpoint that respects the height and structure, while also considering how nearby streets and canal edges can either support or clutter the composition. A pro can help you “simplify” what you include, so your final images look intentional.
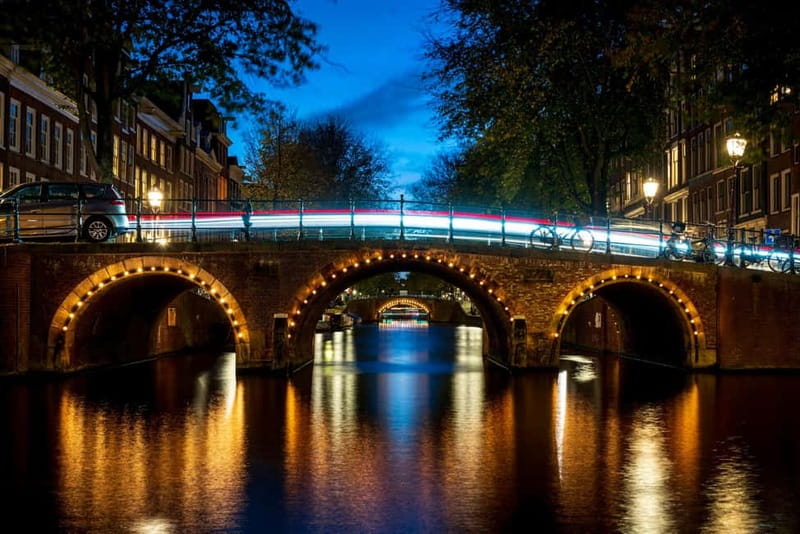
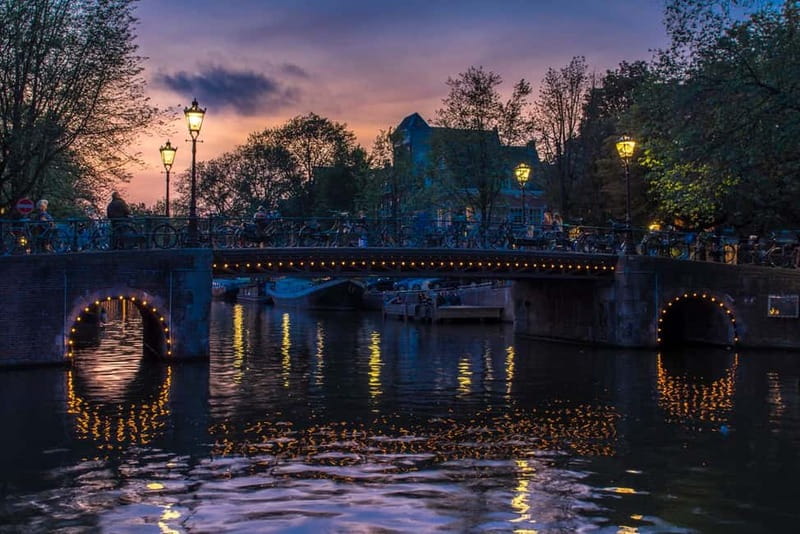
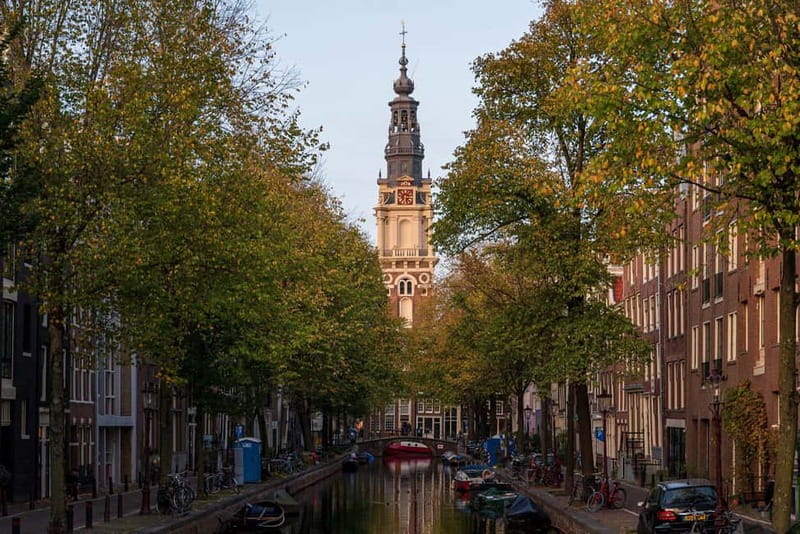
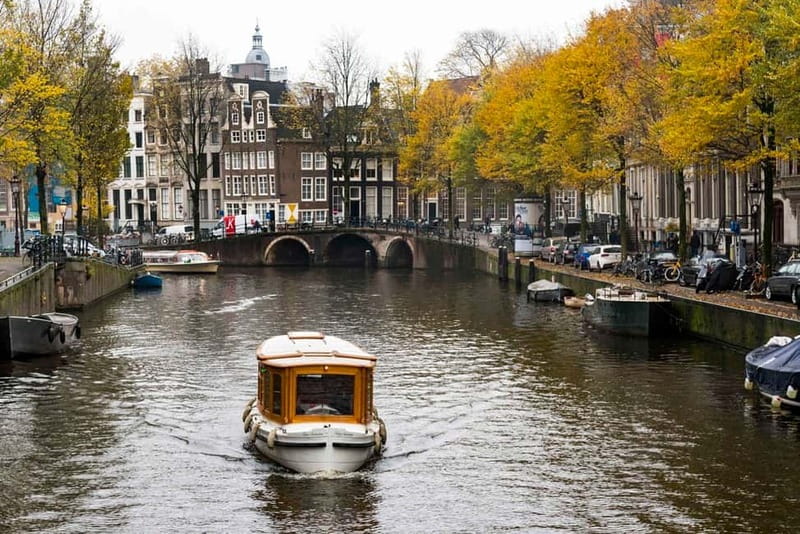
The canal system is the big reason Amsterdam photography is so good. Water reflections can help you make stronger compositions, but they can also fool your exposure and confuse your focusing. In this lesson, you don’t just point your camera and hope. You practice how to see patterns in the water, how to position yourself for leading lines, and how to choose angles that highlight the canal’s geometry.
If you also enjoy people-watching, this is a great match. Amsterdam is full of motion, and a guided photo walk helps you capture that without turning every photo into a blur.
Composition tricks you can reuse immediately on your own
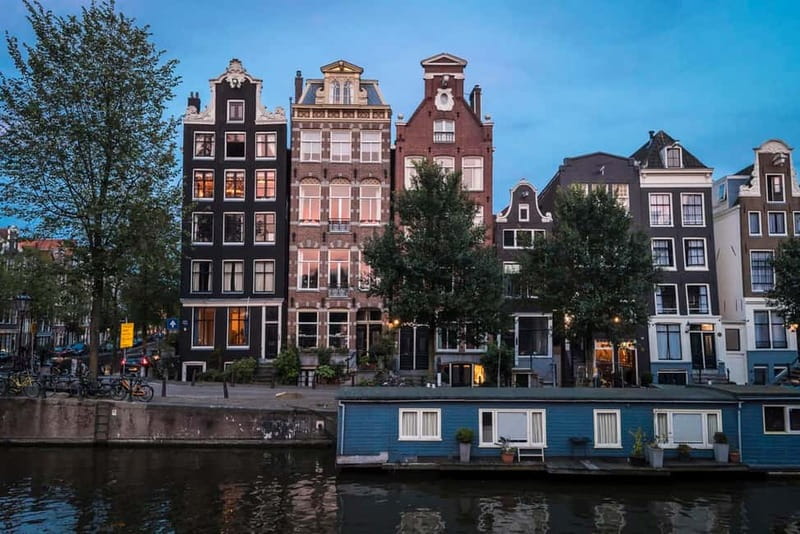
One of the most valuable parts of the lesson is that it teaches you how to think. Amsterdam is full of repeated forms: bridges, canal edges, window grids, and the repeating rhythm of facades along the streets. When you understand how to use repetition, you stop treating every scene like a one-off photo assignment.
The instructor specifically guides you through composition tools like:
- lines that lead the eye (canals, street edges, railings)
- repetition that creates pattern and order (rows of windows, repeating roof shapes)
- camera angles that change the story (higher viewpoints for structure, lower angles for water and texture)
This is the kind of skill that makes the rest of your trip better, even when you’re not in a guided session. After a few practice moments, you start spotting compositions faster because you know what to look for.
And since the tour is tailored, you’ll get examples that match your interests. If you’re drawn to architecture, you’ll get help on framing and perspective. If you’re drawn to life around you, you’ll get guidance on timing and subjects so you capture people in context.
Also flying a pennant in Amsterdam
- Amsterdam Canal, Tulip, Windmill Photoshoot | Custom Request
★ 4.9 · 307 reviews - Amsterdam Canal, Tulip, Windmill Photoshoot | Custom Request
★ 5.0 · 147 reviews - Amsterdam: Foam Photography Museum Admission Ticket
★ 4.2 · 141 reviews - Become a Dutch Art Piece Photo Shoot in Amsterdam
★ 5.0 · 100 reviews
Getting sharp results: focus, exposure, and camera control
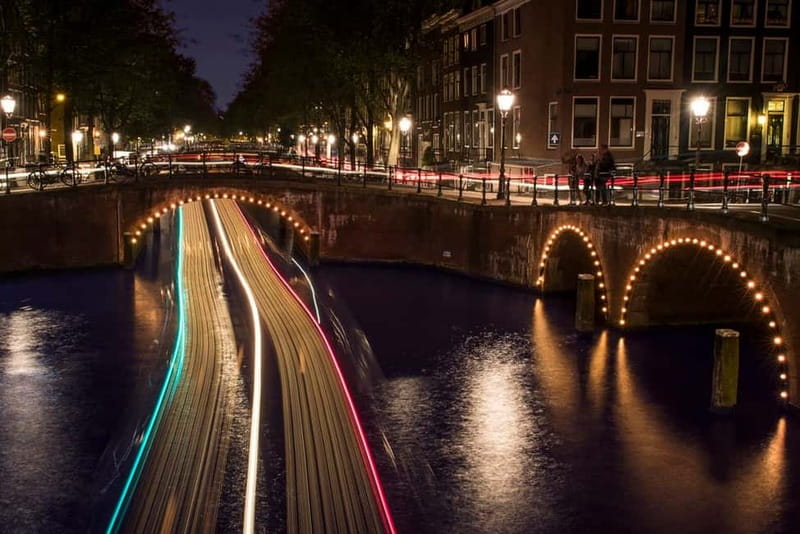
Amsterdam lighting can be dramatic, even on “normal” days. You can get bright areas next to darker stone, and reflections can cause your camera to struggle with exposure. This lesson helps you take control.
You’ll learn how to use:
- f-stop to manage depth of field
- shutter speed to control motion and sharpness
- ISO to adapt to low light without turning photos into noise soup
- focusing techniques to keep your subject crisp
What I like about this approach is that it’s not mysterious. Your instructor can guide you to make a change, see the result quickly, and then refine. That feedback loop is what turns technical knowledge into usable photography.
If you’re shooting at night or in dim interiors near churches and street lighting, you’ll also get flash advice. Flash can be tricky in a city full of reflections, but learning how to use it correctly gives you more options instead of forcing you to rely on luck.
Flash and tricky light in Amsterdam streets
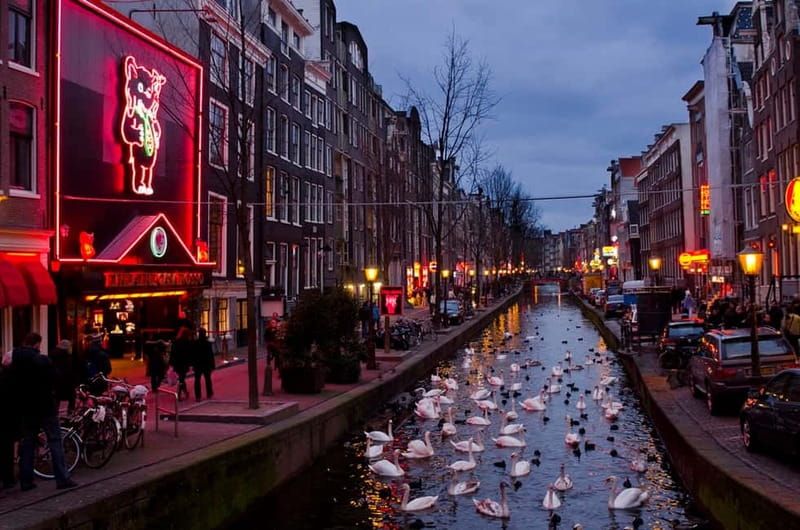
Flash is one of those topics photographers often avoid, then regret when evening arrives. You might end up with either too-dark subjects or a background that looks wrong compared to what your eyes noticed.
Here, you learn how to get the most out of flash, which gives you a strategy. Even if you don’t use flash every time, knowing how it works helps you understand exposure and distance, and it can improve your available-light shots too.
Also, because the tour includes both landmark exteriors and churches, you’ll likely encounter varied lighting conditions. The practical goal is simple: you should be able to choose your settings based on the scene rather than guessing.
The final review: turning practice into progress
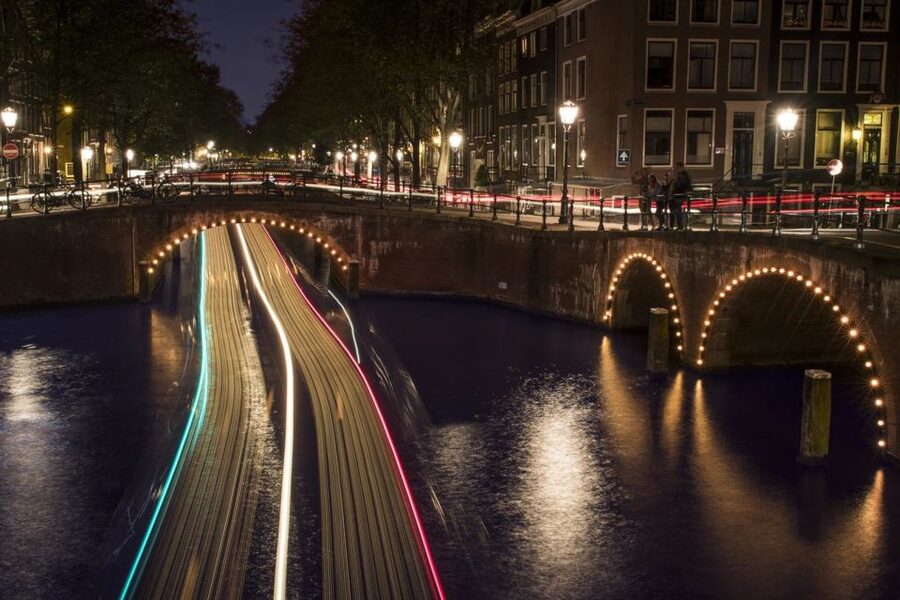
After the main walking and shooting time, the tour finishes with a review of your photography. That last step is where improvement can jump.
A good review helps you notice patterns in your own images. For example, you might realize you consistently underexpose the darker sides of buildings, or that your angles sometimes hide the best part of a canal view. Then you get targeted advice so you can fix those issues the next time you’re out shooting.
This is a big reason the private format feels effective. It’s not just “learn while doing,” it’s “learn, then check what worked and what didn’t” before you move on.
Price and value: $377 for up to two people
At $377 per group for up to 2 people, this isn’t a budget activity. But it’s also not priced like a full-day, multi-location workshop that ties up your schedule.
Think of it as paying for:
- professional instruction while you shoot
- tailored guidance based on your current skill level
- a private, flexible walk built around Amsterdam’s strongest photographic scenes
- hands-on coaching with specific settings and composition techniques
- a final review so you leave with clearer next steps
If you’re traveling solo with just a phone or entry-level camera, you may find the value lower if you expected a pure sightseeing tour. But if you’re serious about leveling up, the coaching can be worth it fast because you avoid wasting time learning the hard way.
If you’re going as two people, the per-group structure can feel more reasonable. Two people can share the experience and learn together, especially if both are using cameras and want to improve.
Who this Amsterdam photo lesson is best for
This tour is designed for a range of skill levels. It can work well if you’re:
- starting out and want a clear path to better photos of Amsterdam
- a hobbyist who already shoots but wants more control over composition and exposure
- an experienced photographer who wants targeted help and a guided plan for strong subjects
It’s also a strong fit if you want the route to adapt to your interests, including landmarks, people-watching, or specific places you want to shoot. The key is that you should enjoy learning while walking, because the experience is built around practicing with your camera, not just observing.
One note: this is not a portrait session. You’re not here to have photos taken of you. The focus is on teaching you how to take better photos of Amsterdam with your own camera.
Should you book this Amsterdam photography masterclass?
Book it if you want to leave Amsterdam with more than snapshots. If you enjoy canals, buildings, and street scenes, and you like the idea of getting direct instruction on settings like f-stop, shutter speed, ISO, and focusing, this tour is a high-value way to improve quickly in one compact half-day.
Consider skipping or choosing a different style if you mainly want a relaxed sightseeing walk with no camera homework. Also, make sure you’re comfortable using your own gear, since the camera is not provided and there’s no portrait component.
If you’re ready to learn in the real environment where Amsterdam photos are made, this is a smart, focused way to get there.
FAQ
How long is the Amsterdam photography masterclass?
It lasts 3 hours.
Is this tour private?
Yes. It is a private group experience.
What is the price?
It is listed at $377 per group, up to 2 people.
What should I bring?
You should bring your camera.
Is a tripod included?
No. A tripod is not included, but tripod rental is available by request.
Does the tour include portraits of you?
No. This is a photography lesson to help you take better photos of Amsterdam, not a portrait session. Photos of you are not part of the experience.
What locations does the tour cover?
You’ll photograph Amsterdam’s canal system and also include places such as the Rijksmuseum and various churches.
What is taught during the lesson?
You’ll cover composition (including lines, repetition, and camera angles), how to train your eye for subjects and lighting, and how to use flash. You’ll also learn how to control your camera with f-stop, shutter speed, ISO, and focusing.
Where is the meeting point?
Meet at the fountain Hans Snoekfontein in front of Hotel Amsterdam American, Leidsekade 97, 1017 PN Amsterdam.
What’s the cancellation and payment flexibility?
It offers free cancellation up to 24 hours in advance for a full refund, and it also has reserve now, pay later options.
Benches, Tools Out
- Amsterdam: Traditional Dutch Syrup Waffle Making Workshop★ 4.8 · 4,093 reviews
- Amsterdam Traditional Dutch Syrup Waffle Making Workshop★ 5.0 · 960 reviews
- Amsterdam: Bols Cocktail Experience and Cocktail Workshop★ 4.8 · 666 reviews
- Amsterdam: Traditional Dutch Blue Tile Painting Workshop★ 4.7 · 400 reviews
Latest to arrive along the quays of Amsterdam

Photography Sessions, compared.
Amsterdam Canal, Tulip, Windmill Photoshoot | Custom Request
Read our review →Amsterdam Canal, Tulip, Windmill Photoshoot | Custom Request
Read our review →
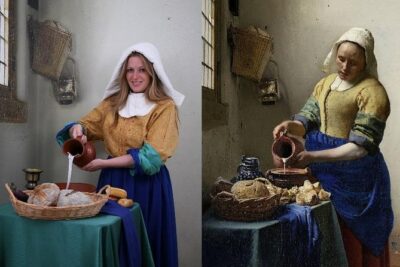
Become a Dutch Art Piece Photo Shoot in Amsterdam
Read our review →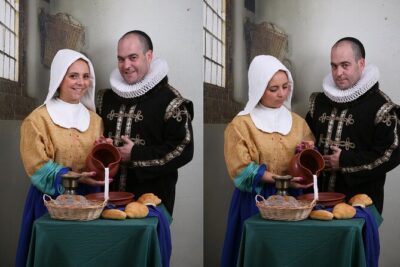
Become a Dutch Art Piece Photo Shoot in Amsterdam – Single Portrait
Read our review →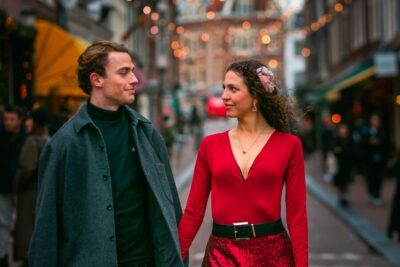
Premium Romantic Photoshoot Experience for Couples
Read our review →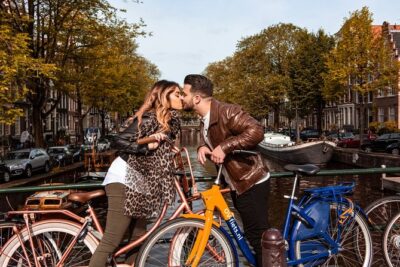
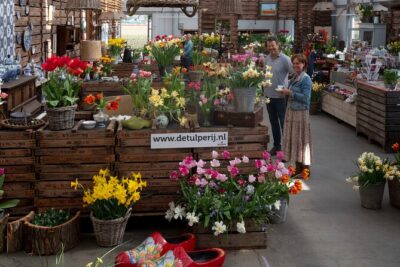
Taking Pictures in the Tulip Field at De Tulperij
Read our review →Browse the lists this tour appears in