
Reviewed · DUTCH CHEESE TASTINGS & TOURS
Amsterdam: Make your cheese next to De Hallen
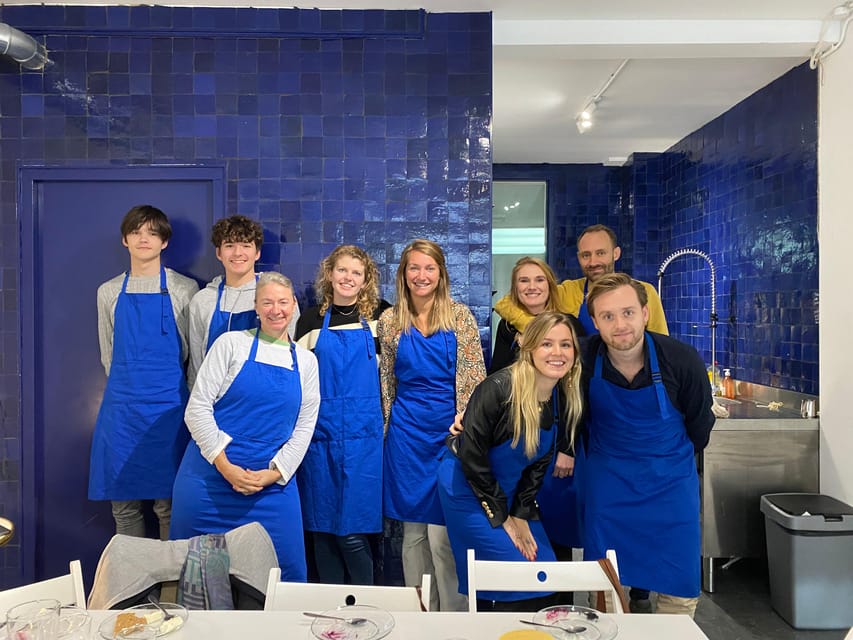
Making cheese in Amsterdam turns you from a shopper into a maker fast, and the workshop at De Kaasserie keeps it practical from minute one. I like that you learn the basic science of coagulation in plain language, then immediately put it to work with two separate cheeses. I also love the small-group feel, capped at 10, with an instructor named Paula who keeps things friendly and focused.
There is one catch to consider: this class is not a fit for people who are lactose intolerant, so you will want to check that before booking.
In This Review
- Key takeaways (quick hits)
- Where De Hallen meets real hands-on cheesemaking
- The short intro that makes the whole class click
- Acid-coagulated cheese vs rennet-coagulated cheese (and what you learn)
- Acid coagulation: the fresh, straightforward route
- Rennet coagulation: the step behind aged cheese
- Making two cheeses in one workshop, step by step
- The tasting that teaches you what to notice
- What you take home (it’s more than souvenirs)
- Price and value for an Amsterdam skill class
- Who should book this workshop, and who should skip it
- Practical tips to enjoy it smoothly
- The instructor energy: why Paula’s teaching style matters
- Should you book Make your cheese next to De Hallen at De Kaasserie?
Key takeaways (quick hits)
- Two cheeses in 3 hours: You make both an acid-coagulated and a rennet-coagulated cheese.
- Real process, not just tasting: You learn the difference between fresh and aged-style coagulation.
- Your flavors, your call: You experiment with spices and herbs during the process.
- Take-home kit plus recipes: You leave with your cheeses, plus cloth, rennet, calcium, and email recipes.
- Small group, English-led: Limited to 10 participants, and the instructor can teach in English, Spanish, French, or Dutch.
Where De Hallen meets real hands-on cheesemaking
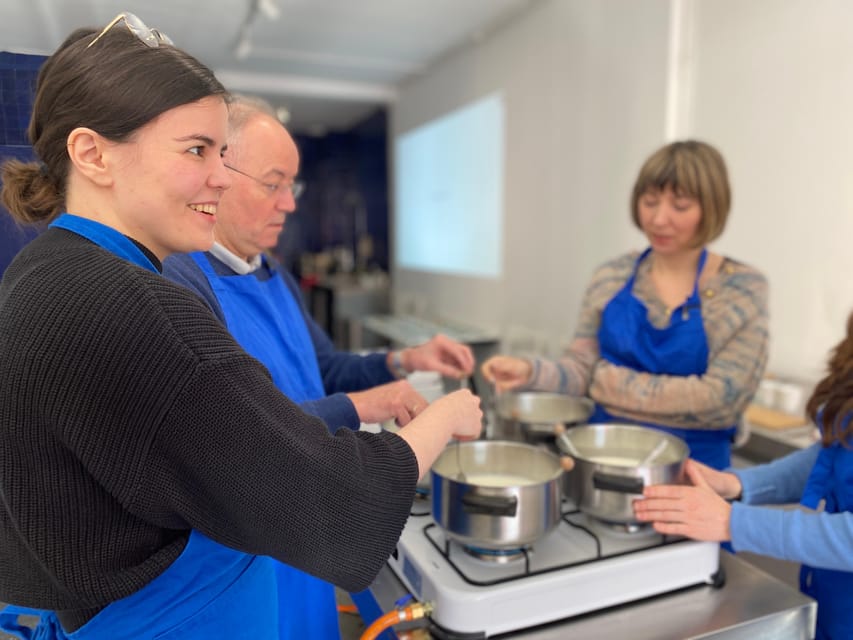
If you like Amsterdam for its craft culture, you’ll probably enjoy this workshop for a more personal reason. It’s set up near De Hallen, one of those parts of the city where you can mix galleries, food, and local life without feeling like you’re racing from one landmark to another.
You meet at De Kaasserie. Once everyone arrives, you get a short intro to the space and what you’ll do in the workshop. That matters more than it sounds, because cheesemaking can feel technical. Here, the teaching is structured so you know what step you’re on, why it matters, and what result you should expect.
The duration is 3 hours, which is a sweet spot. Long enough to actually make cheese, not so long that you feel like you’re stuck in a single room all day. And because it’s limited to 10 people, you get more attention than you’d get in a bigger class.
One more practical note: the included drink is tea. No coffee, and no alcohol are included, so plan accordingly if caffeine is part of your routine.
More wheels split open at the counter:


The short intro that makes the whole class click
Before you touch anything, you get a presentation that introduces De Kaasserie and the workshop contents. Then you learn about the two basic types of milk coagulation.
This is where the class earns its value. Most people think cheesemaking is magic. It is, sort of, but it’s also chemistry and timing. Once you understand what turns liquid milk into curds, the rest of the steps feel less like following instructions and more like making choices.
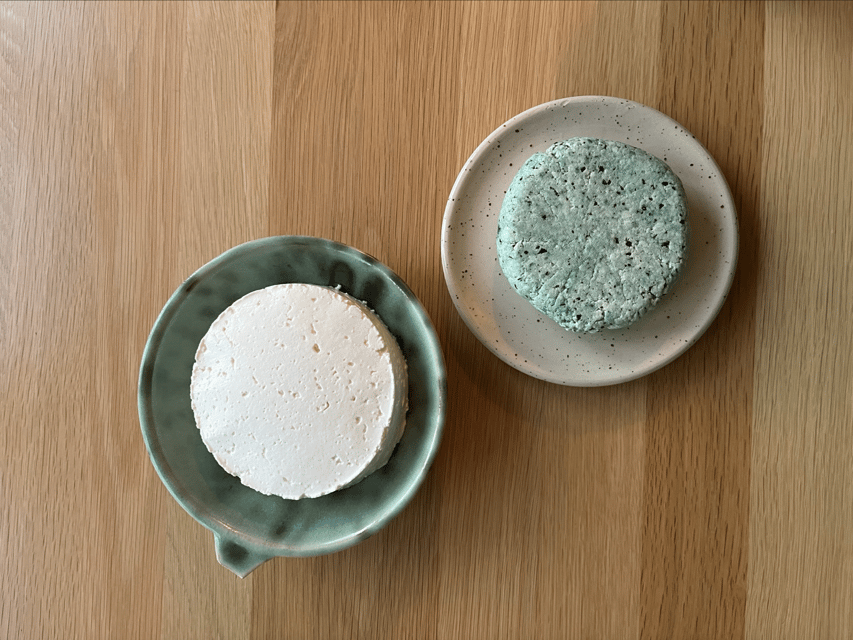
During the class, you use one liter of supermarket milk to make an acid-coagulated cheese. Then you use another liter of supermarket milk to make a rennet-coagulated cheese. Those two liters become two pieces of cheese, and you get to take both home.
If you’re the type who likes to understand what you’re doing, this short teaching block is the difference between a fun activity and a skill you can repeat later.
Acid-coagulated cheese vs rennet-coagulated cheese (and what you learn)
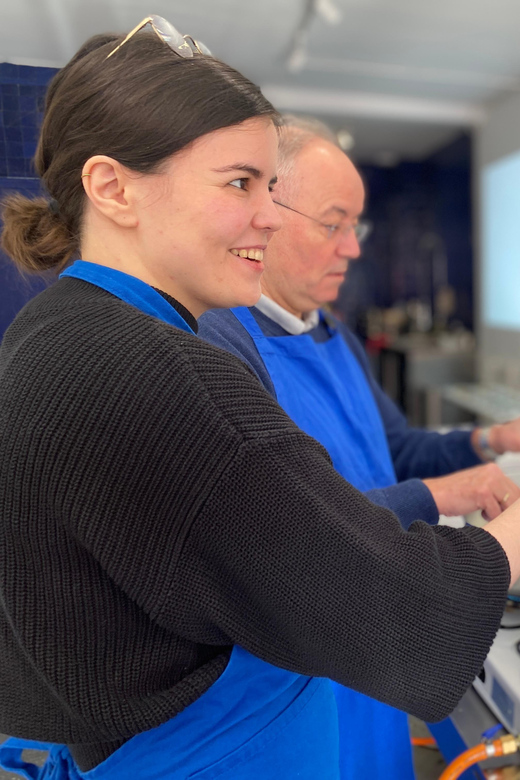
You’ll work through both methods, not just one. That’s a big deal because acid and rennet create different curd behavior and different cheese styles.
Acid coagulation: the fresh, straightforward route
With acid coagulation, the milk curd forms using acidity. This gives you a cheese that’s fresh and immediate in the way it tastes and feels. In the class, you end up with a fresh cheese that you can taste later during the tasting segment.
What I like about doing this first is that it gives you a baseline. You can compare textures and flavors right away, then shift to the second method with better context.
Rennet coagulation: the step behind aged cheese
Next comes rennet coagulation. This is the procedure used to make aged cheese, and the workshop gives you the foundation. You learn the basic process so that, even though you are making a fresh version during the workshop, you understand what changes when recipes get more complex and longer.
The practical takeaway is powerful: once you know the rennet method with a fresh cheese, you can continue at home toward longer, more complex aged recipes. The class is basically giving you the entry point into a bigger world, without asking you to start with a 6-month project.
Also flying a pennant in Amsterdam
- Amsterdam: Van Gogh Museum Ticket
★ 4.7 · 52,054 reviews - Amsterdam: Heineken Experience Ticket including 2 Drinks
★ 4.6 · 36,014 reviews - Amsterdam Luxury Canal Cruise + Unlimited Drinks & Bites option
★ 5.0 · 30,518 reviews - Amsterdam: Rijksmuseum Entry Ticket
★ 4.7 · 29,512 reviews
Making two cheeses in one workshop, step by step
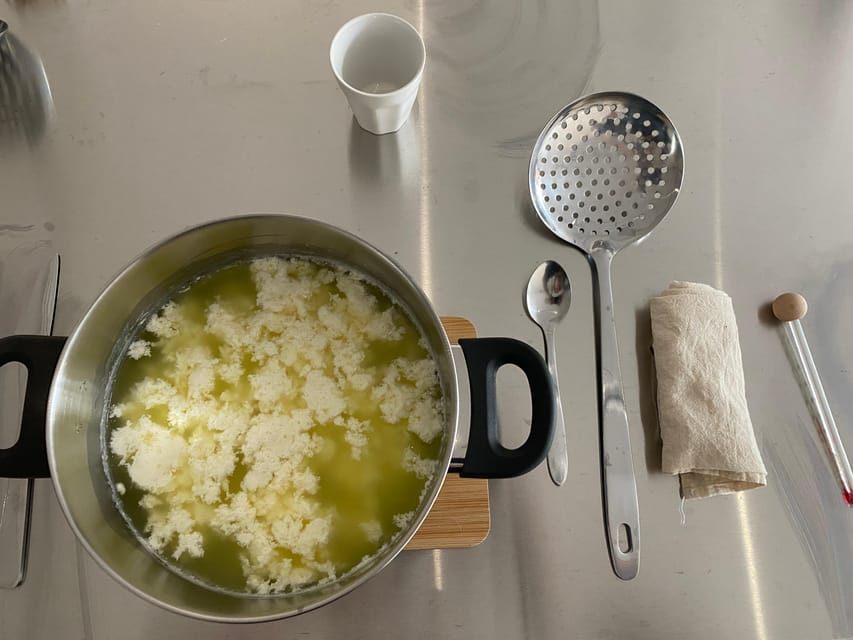
Once the teaching part is done, you jump into the hands-on stage. The workshop is designed so you can follow along without getting lost.
You make two separate cheeses from those two liters of milk. Even if you’ve never done anything like this before, the structure helps. You aren’t just pouring random ingredients and hoping for the best. You’re following a process tied to coagulation type, then finishing each cheese in a way that leads to a proper tasting at the end.
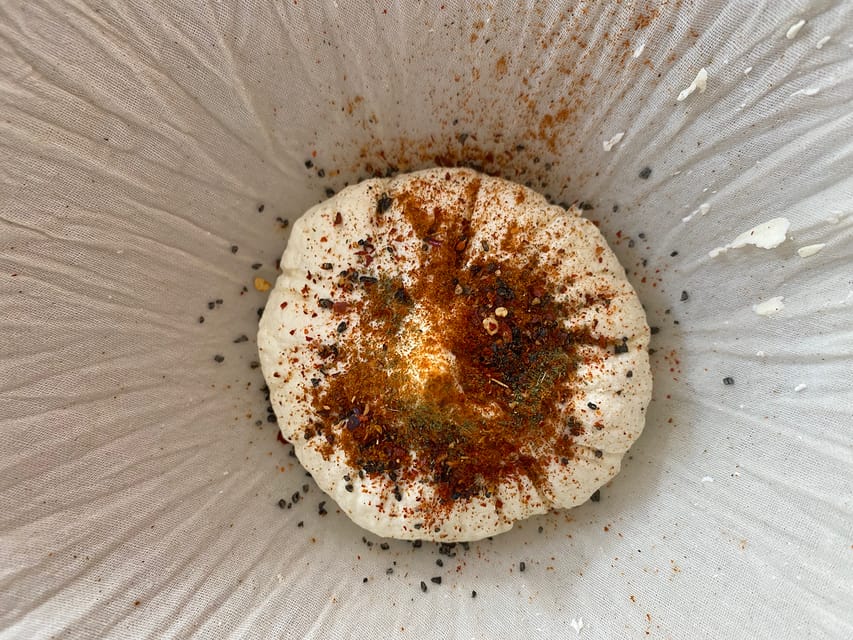
There’s also a fun component that makes it feel less like a school lab. During the process, you can experiment with adding spices and herbs to your cheese. This is the part where your taste preferences matter. If you like peppery notes, herby aromas, or a more savory profile, you can shape your own result rather than getting only one predetermined flavor.
Because you take home two cheeses, you get double the reward. It’s not just a snack you can eat in the moment. You’ll have one cheese that comes from each method, and you can decide which one you want to remake first at home.
The tasting that teaches you what to notice
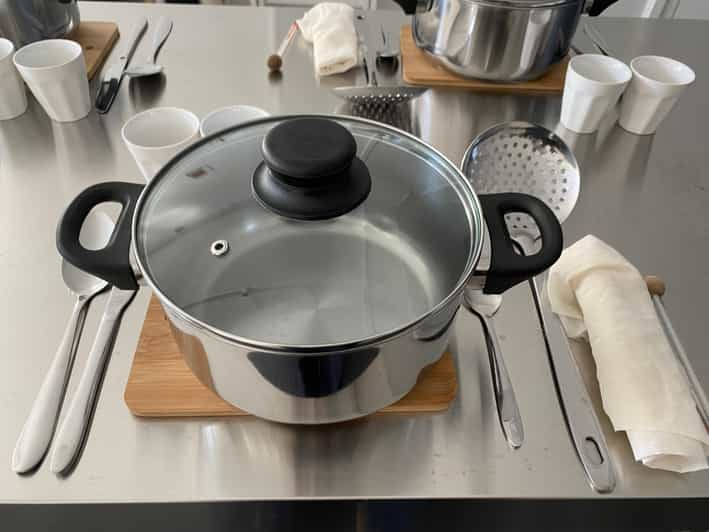
After your cheeses are ready, the workshop ends with a tasting of homemade cheeses, including fresh and pressed varieties.
This tasting portion is not just a reward. It’s the moment where you learn how each method shows up in real flavor and texture. You can look back at what you did earlier and connect it to the result you’re tasting now.
Pressed cheese is a key detail, because pressing changes moisture and structure. Even if you don’t go into deep technical talk, you’ll taste the difference, and you’ll understand why some cheeses feel firmer or more sliceable than others.
If you plan to use this as a home project later, tasting is your feedback loop. You’ll learn what you personally liked, which makes the recipes you receive by email feel more relevant.
What you take home (it’s more than souvenirs)
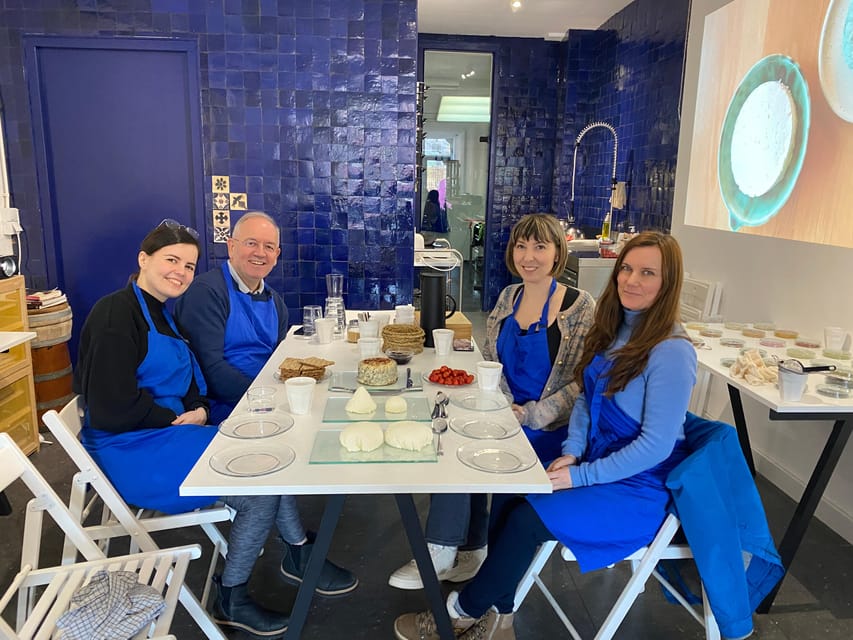
Most food workshops give you something to eat. This one gives you more control than that.
You take home:
- Two cheeses you made
- Cheese cloth
- Rennet
- Calcium
- Recipes by email
That take-home kit is where the workshop becomes practical. With the recipes delivered by email, you can repeat the process without having to remember every step from memory. The cloth and the starter materials (like rennet and calcium) help you actually continue rather than just thinking about it.
Also, having two methods at home means you can compare results over time. You can decide what you want to tweak next, like adjusting herbs and spices or changing how you follow the method you liked best.
And because the class encourages experimentation, you’re not boxed into only one outcome. You learn enough to play.
Price and value for an Amsterdam skill class
At $135 per person for about 3 hours, the price sits in the midrange for a hands-on food experience. The question is whether you get value beyond the activity.
Here’s what makes it feel worth it:
- You leave with two cheeses you made, not just a small tasting portion.
- You get a take-home kit plus recipes by email, which turns the workshop into a repeatable hobby.
- You learn both acid and rennet coagulation, giving you a wider foundation than one-method classes.
The main value trade-off is that this is not a long cooking tour with lots of stops. It’s concentrated skill learning. If you want an afternoon with multiple city sights, this won’t match that style. But if you want a craft you can carry home, it’s a strong use of time.
Also, the small-group size matters. Limited to 10 participants, you’re more likely to get help when questions pop up, which is important when you’re learning a process involving timing and texture.
Who should book this workshop, and who should skip it
This cheese workshop is best for adults and older teens who want to learn a real skill with immediate results.
It is not suitable for children under 16, and it’s also not suitable for people over 95. It’s specifically listed as not suitable for lactose intolerance, so if that affects you, you should plan another activity.
You’ll probably enjoy it most if:
- You like cooking, science-y food, or craft activities.
- You want a hands-on Amsterdam experience you can repeat later.
- You’d enjoy learning the fundamentals of fresh vs aged cheese direction, even if you only plan to start with simpler recipes.
If your travel style is strictly sightseeing, you might find this too focused. If your travel style includes food culture and doing something with your hands, you’re the target audience.
Practical tips to enjoy it smoothly
A workshop is only as fun as it is comfortable. A few practical choices will help you get the most out of it.
- Plan for a full skill session, not a quick snack. You’ll be making and experimenting with herbs and spices.
- Come with a curiosity mindset. Even if you’ve never made cheese, the process is taught step by step.
- Think about what flavors you like before you start. When you get the chance to add herbs and spices, it’s easier to choose if you already know your go-to preferences.
- Since only tea is included, if you need coffee or a specific beverage to feel normal, handle it nearby before or after.
Also, the instructor works in English, Spanish, French, and Dutch, which makes it easier to follow even if your comfort language isn’t English.
The instructor energy: why Paula’s teaching style matters
The reviews you’ll see for this workshop point to one consistent theme: the experience is friendly and well guided. An instructor named Paula comes up again and again for being helpful and personable, and for starting with an intro that includes a quick slide presentation and participant introductions.
That start does more than fill time. It helps you feel settled. You also get the chance to meet people right at the beginning, which is perfect in a small group setting where everyone is there for the same reason, to learn.
If you’re someone who worries about feeling awkward in a class, that structure helps. You get to join without pressure.
Should you book Make your cheese next to De Hallen at De Kaasserie?
Book it if you want a true Amsterdam food craft experience, not just another meal. The combination of learning two coagulation methods, adding herbs and spices, tasting what you made, and taking home two cheeses plus supplies and recipes makes this class feel like a real value for money.
Skip it if lactose intolerance is an issue, if you’re looking for a multi-stop sightseeing day, or if you prefer only low-hands-on activities.
If you’re torn, use this simple test: Do you want a skill you can repeat at home? If yes, this workshop is the kind of experience that gives you a lasting souvenir, one you can actually make.
Latest to arrive along the quays of Amsterdam



Dutch Cheese Tastings & Tours, compared.
Amsterdam Classic Saloon Boat Cruise with Drinks and Cheese
Read our review →
Classic Saloon Boat Cruise with Cheese & Wine
Read our review →
Guided Zaanse Schans, Windmills & Cheese Tour
Read our review →
Zaanse Schans Windmills, Clogs and Dutch Cheese Small-Group Tour from Amsterdam
Read our review →

Evening Candle Light Cruise With Wine & Cheese
Read our review →
Countryside Bike Tour from Amsterdam: Cheese, Clogs & a Windmill
Read our review →
Giethoorn Tour Scenic Cruise, Cheese & Free Time
Read our review →Browse the lists this tour appears in